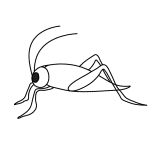
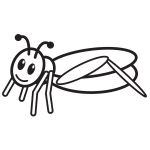
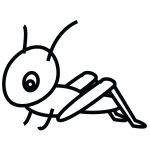
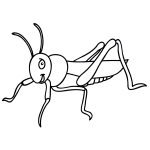
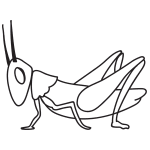
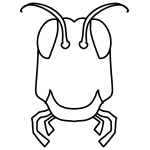
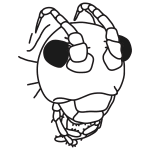
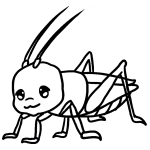
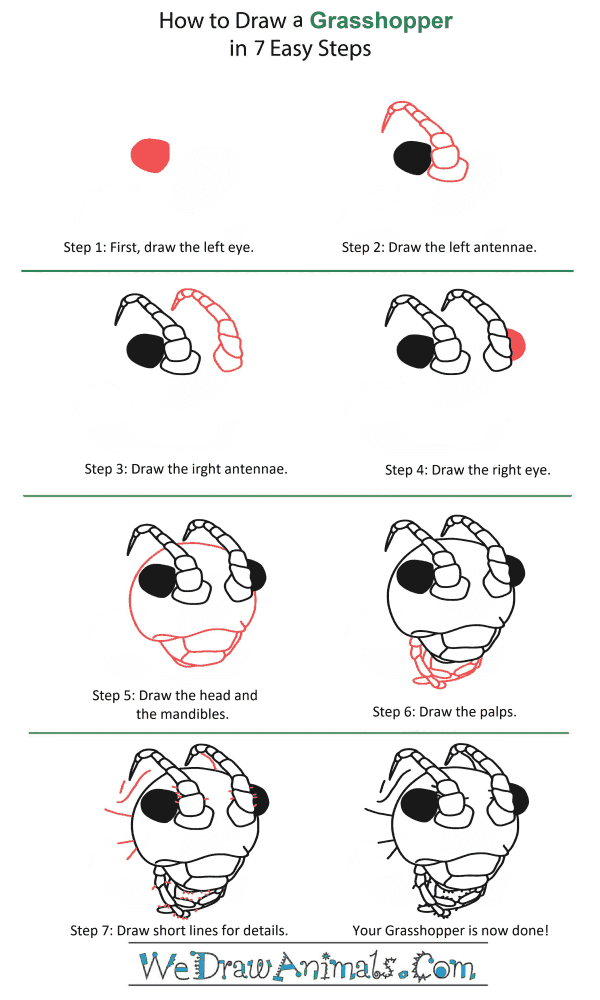
In this quick tutorial you'll learn how to draw a Grasshopper Head in 7 easy steps - great for kids and novice artists.
The images above represent how your finished drawing is going to look and the steps involved.
Below are the individual steps - you can click on each one for a High Resolution printable PDF version.
At the bottom you can read some interesting facts about the Grasshopper Head.
Make sure you also check out any of the hundreds of drawing tutorials grouped by category.
How to Draw a Grasshopper Head - Step-by-Step Tutorial
Step 1: Begin with a large, dark circle for the left eye.
Step 2: Next to the eye, draw the antennae by adding a circular base, with eight rounded squares and rectangles, beginning large but getting steadily smaller, ending in a point.
Step 3: Leaving a small gap between the antennae and draw the right antennae in the same way.
Step 4: For the right eye, draw a dark semi-circle just above the base of the right antennae.
Step 5: Draw the head around the left eye, but with the right eye sticking out. It should be a circle with a flat bottom. Then add two rounded rectangles below this, and a curved line around them to connect them to the head.
Step 6: Draw the palps below the mouth (mandible). These should look like four smaller versions of the antennae, two longer ones on the outer sides of the mouth, and two shorter ones on the inside.
Step 7: To add the final details, draw some short lines around the antennae and their points, behind the head, and around the palps.
Step 8: Your grasshopper is now complete!

