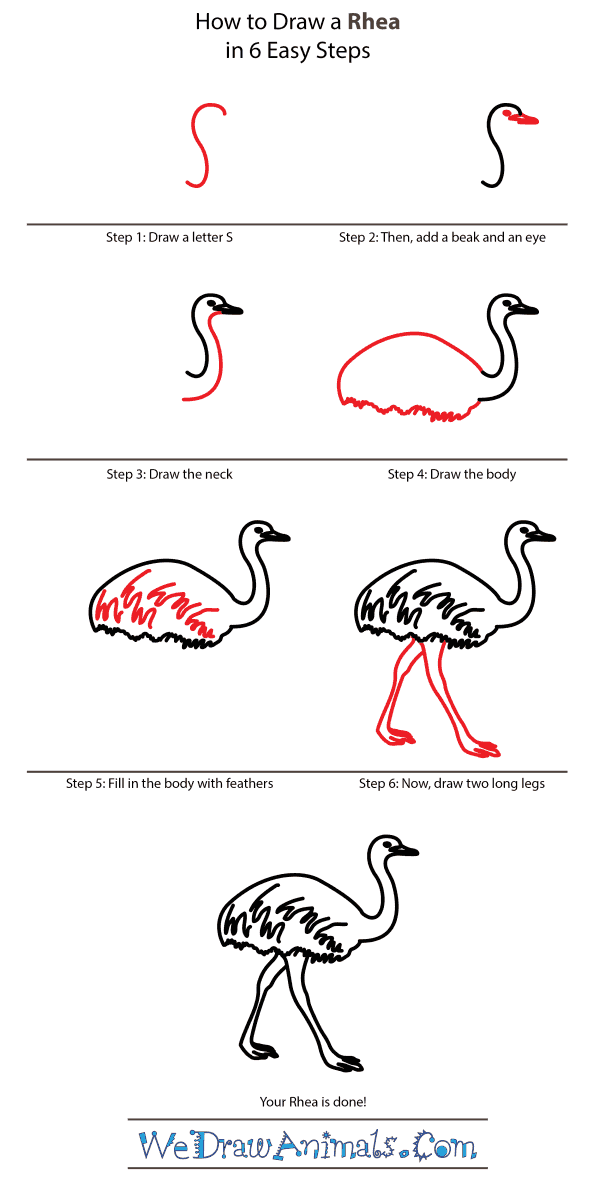
In this quick tutorial you'll learn how to draw a Rhea in 6 easy steps - great for kids and novice artists.
The images above represent how your finished drawing is going to look and the steps involved.
Below are the individual steps - you can click on each one for a High Resolution printable PDF version.
At the bottom you can read some interesting facts about the Rhea.
Make sure you also check out any of the hundreds of drawing tutorials grouped by category.
How to Draw a Rhea - Step-by-Step Tutorial
Step 1: To begin drawing the head, draw the letter "S".
Step 2: Add a small beak and the eye to the top of the S.
Step 3: Draw the neck. It should be long and slender.
Step 4: Add on the body. The body should be wide and fairly long, with an irregular shape that implies feathers.
Step 5: Fill in the details of the body with feathers created by quick line strokes.
Step 6: Draw two very long legs sticking out from the bottom of the body.
Interesting Facts about the Rhea
Greater Rheas are related to emu, kiwis, cassowaries, and ostriches. Plumage is usually dark grey with darker patches around its neck. They are very long since they are not needed for flight. Instead, they have long, sturdy legs with powerful toes that are good for running. During breeding season, a black ring appears at the base of their necks. The male is slightly larger than the female.
Did you know?
- Greater Rheas are the largest bird in North America
- Belong to the family of Ratites
- There are five subspecies of Greater Rhea
- Diet includes leaves, fruits, seeds, and plant matter
Lesson Plan Idea – Discuss the origins of the Greater Rhea? Which of the relations mentioned are they most similar too? Did they originate from this species?


