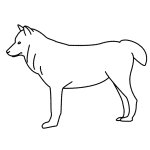
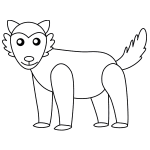
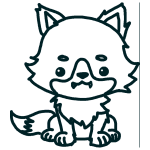
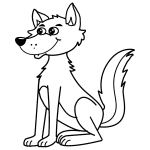
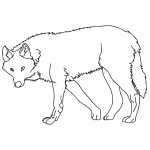
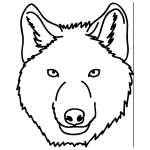
In this quick tutorial you'll learn how to draw a Wolf For Kids in 6 easy steps - great for kids and novice artists.
The images above represent how your finished drawing is going to look and the steps involved.
Below are the individual steps - you can click on each one for a High Resolution printable PDF version.
At the bottom you can read some interesting facts about the Wolf For Kids.
Make sure you also check out any of the hundreds of drawing tutorials grouped by category.
How to Draw a Wolf For Kids - Step-by-Step Tutorial
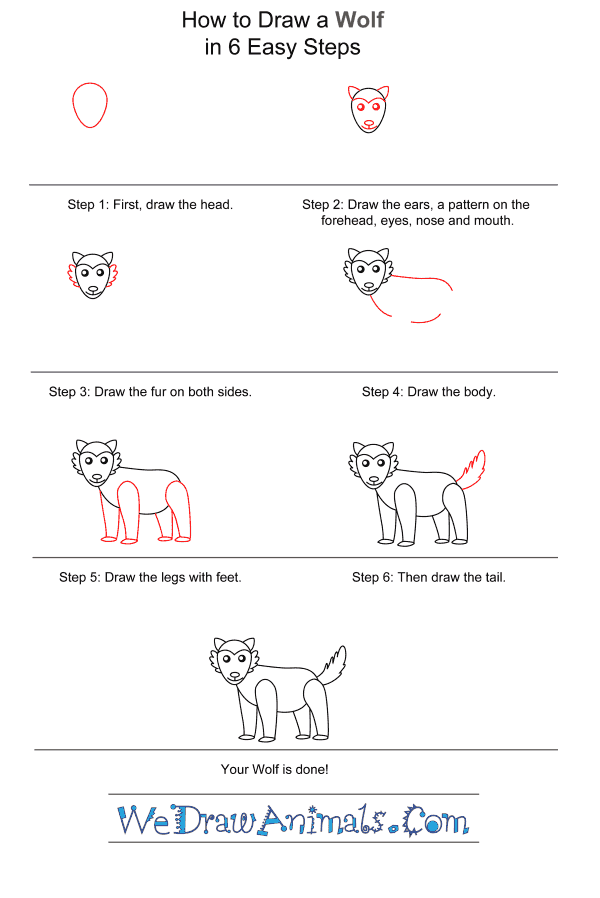
Step 1: Draw a long, narrow oval for the shape of the wolf's head.
Step 2: Add two pointy ears on the top of the head. Then draw a line that points down between the wolf's eyes. Add two eyes, an oval for a nose, and a mouth.
Step 3: Next, draw two patches of fur on each side of the wolf's fast. Wolves need thick fur to keep warm in cold climates.
Step 4: Draw a line for the back and two smaller curves for the chest and belly. Leave open spaces for the legs.
Step 5: Now draw the four long legs. Wolves can run very fast so they need long, powerful legs. Add paws to each leg.
Step 6: Finally, draw a furry tail on the back of the wolf. This is shaped like a feather to show the fur.
Step 7: Now that your wolf drawing is complete you might want to add some color. Wolves live in packs so you might even want to add more wolves to your drawing!

