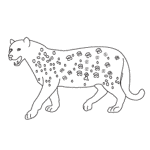
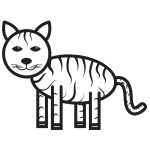
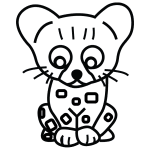
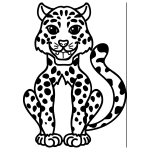
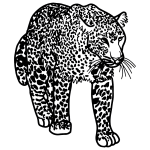
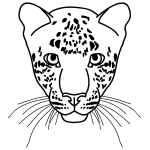
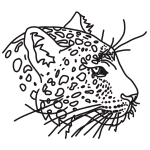
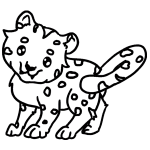
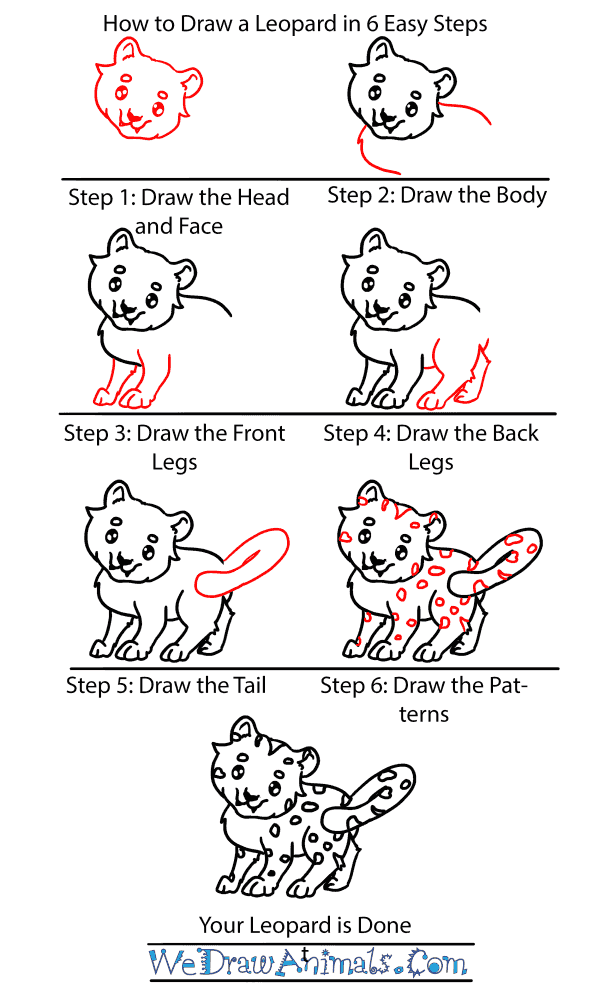
In this quick tutorial you'll learn how to draw a Baby Leopard in 6 easy steps - great for kids and novice artists.
The images above represent how your finished drawing is going to look and the steps involved.
Below are the individual steps - you can click on each one for a High Resolution printable PDF version.
At the bottom you can read some interesting facts about the Baby Leopard.
Make sure you also check out any of the hundreds of drawing tutorials grouped by category.
How to Draw a Baby Leopard - Step-by-Step Tutorial
Step 1: let's start our Leopard by drawing the head. Draw the two ears and then outline the rest of the face. Add tufts of fur underneath the ears before you draw the eyes, nose and a w-shaped mouth.
Step 2: Next we'll draw two lines away from the head to make the body.
Step 3: Now draw the Leopard's legs and paws. Be sure to add lines on the paws to make the toes!
Step 4: Draw the Leopard's back legs, they'll have to be a bit wider than the front legs but we can draw the paws the same way.
Step 5: Almost done now! To finish our leopard we need to add a tail. Before the final touches.
Step 6: Now simply add spots and your leopard is complete!

