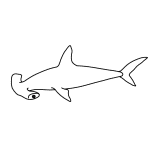
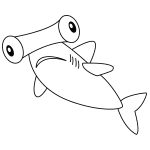
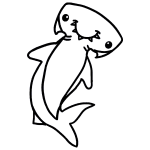
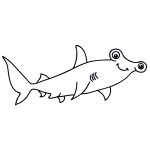
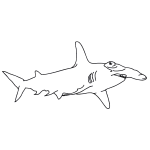
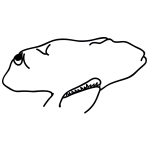
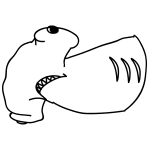
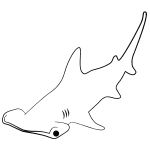
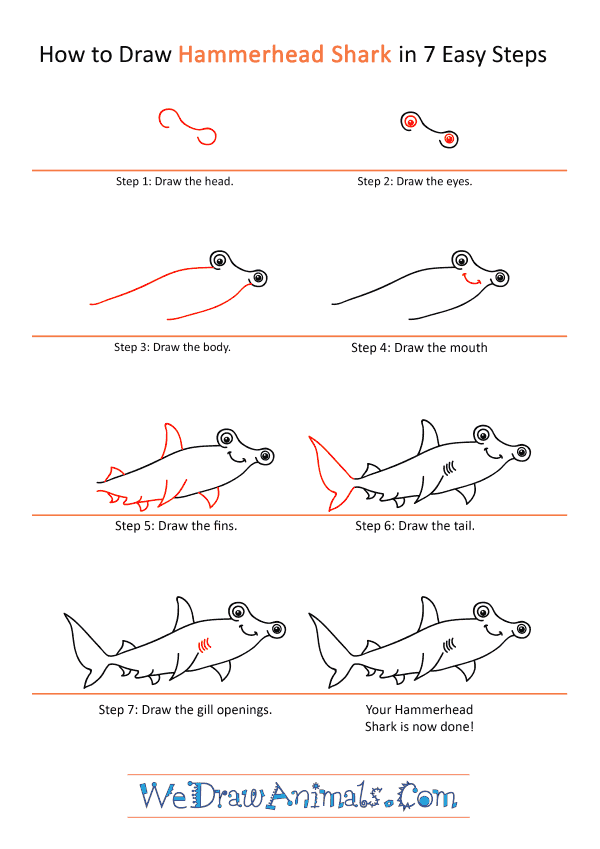
In this quick tutorial you'll learn how to draw a Cartoon Hammerhead Shark in 7 easy steps - great for kids and novice artists.
The images above represent how your finished drawing is going to look and the steps involved.
Below are the individual steps - you can click on each one for a High Resolution printable PDF version.
At the bottom you can read some interesting facts about the Cartoon Hammerhead Shark.
Make sure you also check out any of the hundreds of drawing tutorials grouped by category.
How to Draw a Cartoon Hammerhead Shark - Step-by-Step Tutorial
Step 1: We will begin with the head, or mallet, of our shark! Draw two semi-circles and attach the two with one line at the top. The shape should be similar to the head of a hammer.
Step 2: Next, let's add the eyes. In the middle of both semi-circles, add a singular circle.
Step 3: Now for the body. At the base of each semi circle, draw a diagonal line that runs off towards the left.
Step 4: Next, in between the two lines right below the eyes, add a big smile to your shark!
Step 5: This shark wants to swim! Let's add the fins. We will start by drawing a triangular-shaped fin off the top of the left-most line, located right at the center. A ways down, add another triangle, this time much smaller in height. Underneath the body, add a bunch of smaller triangles pointed downward. Up closer to the chest of the shark, add two triangles for his front fins.
Step 6: You're almost done! At the very end of the shark's body, create a tail that resembles a bowtie shape.
Step 7: Lastly, right above the front fin, add a few little lines for the shark's gill openings.

