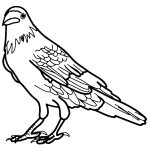
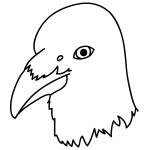
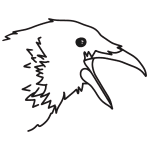
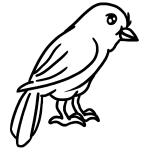
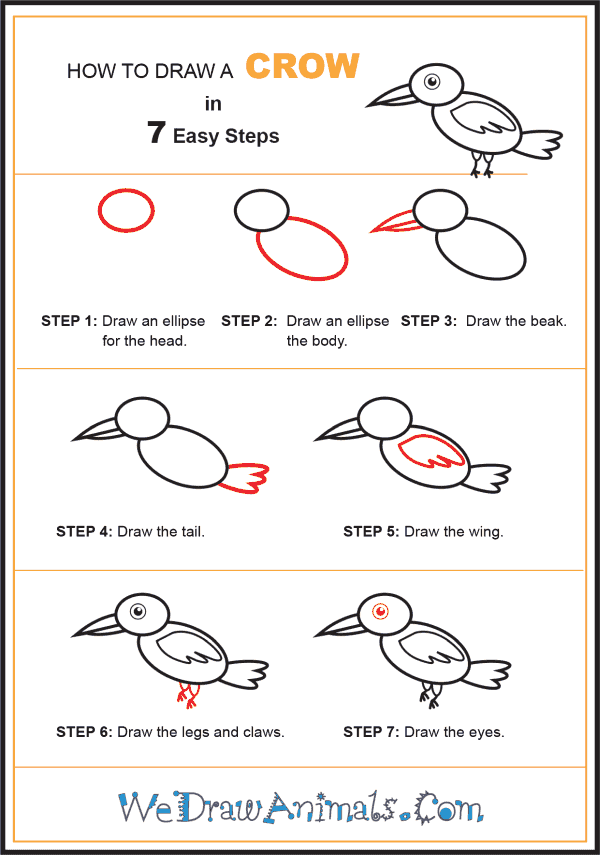
In this quick tutorial you'll learn how to draw a Crow For Kids in 7 easy steps - great for kids and novice artists.
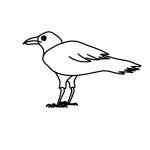
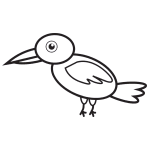
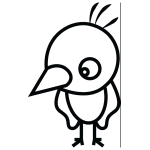
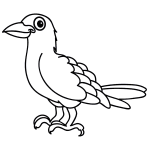
The images above represent how your finished drawing is going to look and the steps involved.
Below are the individual steps - you can click on each one for a High Resolution printable PDF version.
At the bottom you can read some interesting facts about the Crow For Kids.
Make sure you also check out any of the hundreds of drawing tutorials grouped by category.
How to Draw a Crow For Kids - Step-by-Step Tutorial
Step 1: There are over 45 species of crow that live all on all continents except South America and Antarctica. Begin your crow by drawing an oval for the head.
Step 2: Add an elliptical loop that begins on the bottom right of the crows head and ends at the bottom center.
Step 3: Draw the beak as two curved lines and straight line that come together in a sharp point.
Step 4: Draw the tail feathers as a three-lobed freeform protruding off the rear of the crow's body.
Step 5: Draw the crow's wing as another freeform with lobes of increasing length from front to back.
Step 6: Draw the legs as half-loops and the crow's feet as three lines at the bottom of each leg.
Step 7: Draw the eye as a big open circle with a smaller shaded circle inside of it. Make sure to leave a white dot to show reflection on the crow's big eye. If you want to color your crow, you should know that most crows are a deep black.

