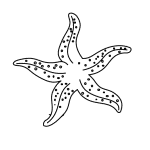
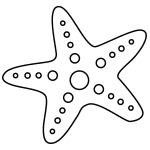
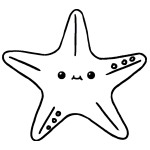
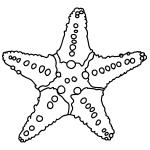
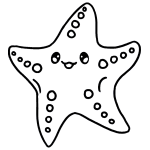
In this quick tutorial you'll learn how to draw a Cute Starfish in 5 easy steps - great for kids and novice artists.
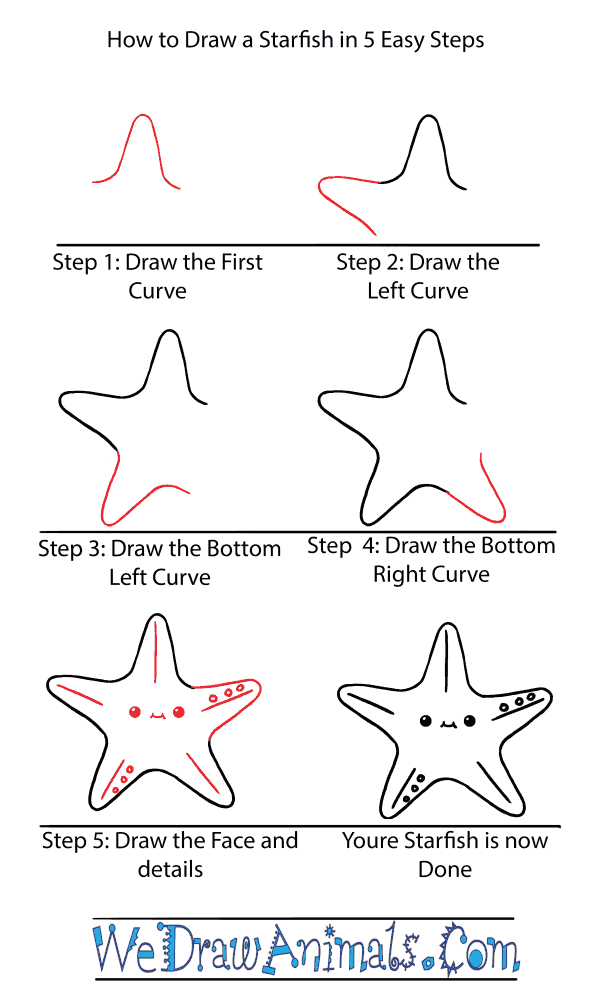
The images above represent how your finished drawing is going to look and the steps involved.
Below are the individual steps - you can click on each one for a High Resolution printable PDF version.
At the bottom you can read some interesting facts about the Cute Starfish.
Make sure you also check out any of the hundreds of drawing tutorials grouped by category.
How to Draw a Cute Starfish - Step-by-Step Tutorial
Step 1: Start with the top curve, drawing a triangle shape, with an open bottom.
Step 2: Add the left curve by following a similar pattern, beginning from the lefthand end of the first curve.
Step 3: Now draw the bottom left curve in the same manner, coming from the bottom end of the left curve.
Step 4: Repeat the process of drawing a triangle curve for the bottom right point.
Step 5: For the final curve, connect the bottom right curve to the top one with one additional triangle curve. Add details by drawing a line in the center of each curve. For the bottom left and top right curved, add three little circles above or below the line. Add some larger circles and a curved line for face details in the center.
Step 6: Now you have a cute starfish. Congrats!

