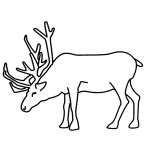
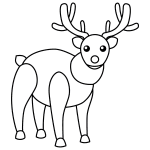
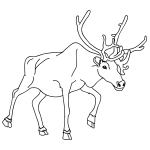
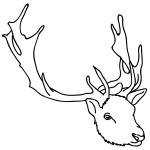
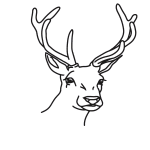
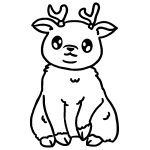
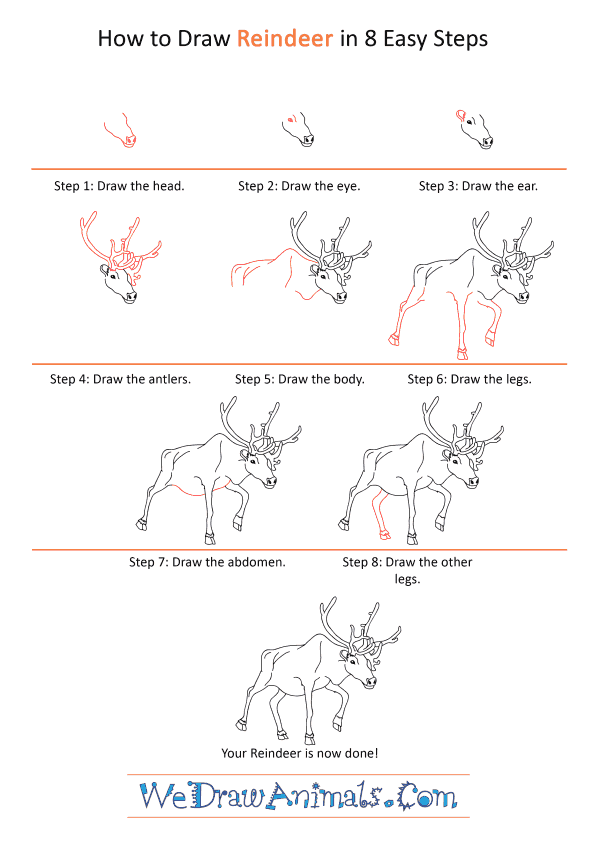
In this quick tutorial you'll learn how to draw a Realistic Reindeer in 8 easy steps - great for kids and novice artists.
The images above represent how your finished drawing is going to look and the steps involved.
Below are the individual steps - you can click on each one for a High Resolution printable PDF version.
At the bottom you can read some interesting facts about the Realistic Reindeer.
Make sure you also check out any of the hundreds of drawing tutorials grouped by category.
How to Draw a Realistic Reindeer - Step-by-Step Tutorial
Step 1: Let's start by drawing the head. Draw a diagonal "V" with a rounded bottom. Draw a small square shap on the bottom of the head for the nose. Now draw two dots for nostrils.
Step 2: Draw the eye at the top end of the head. Draw a tiny circle and fill it in. Now draw a small curved line ove the eye for the brow.
Step 3: Draw the ear by drawing a small inverted "D" on the left of the eye.
Step 4: Let's draw the antlers now. For that we draw two tree branch-like things arising from either side on top of the head. Make sure to double line them and make the ends of each branch rounded. The antlers should go vertically upwards and away from each other.
Step 5: Now we draw the body of the reindeer. Draw a single line with a slight hump in the middle going horizontally left, behind the ear. Now connect this line with another line that curves at a 90 degree angle down. Draw a "V-like" curved line below the head for the neck. Draw several lines at the back and front of the body for detail.
Step 6: Let's draw the legs now. Draw a straight, thin leg with a hoof at the end at the left end of the body of the reindeer. Now draw a leg curved at an angle of 45 right below the neck, with a hoof at the end. Draw another straight leg between the two legs, make sure it's a little more towards the front. Draw hooves at the end of all legs, hooves are small rectangles with a line in the middle.
Step 7: Draw a curved horizontal line for the belly connecting the neck to the back leg leaving spaces fro the legs.
Step 8: Now we draw the fourth leg below the belly. This leg is slightly curved and has a hoof on the endsame as the other legs.

