
In this quick tutorial you'll learn how to draw a Baby Goose in 5 easy steps - great for kids and novice artists.
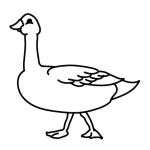
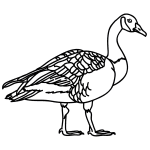
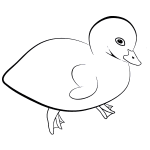
The images above represent how your finished drawing is going to look and the steps involved.
Below are the individual steps - you can click on each one for a High Resolution printable PDF version.
At the bottom you can read some interesting facts about the Baby Goose.
Make sure you also check out any of the hundreds of drawing tutorials grouped by category.
How to Draw a Baby Goose - Step-by-Step Tutorial
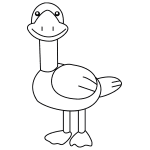

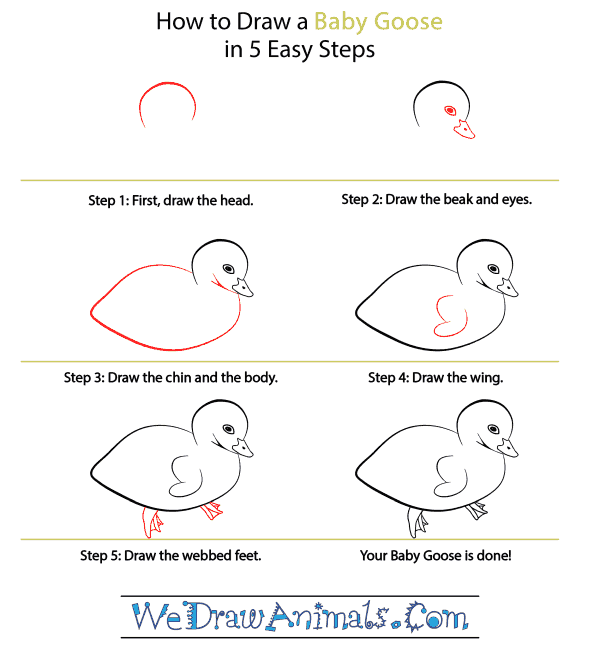
Step 1: To start our Baby Goose we'll draw a curved line that almost forms a circle, with an open space at the bottom.

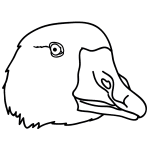
Step 2: Next draw the gooses beak by addin a small triangle to the bottom right of our first line. For the shorter side of the triangle, draw two curved lines that come together in a point, and add a small dot for the nostril. To finish this step, add an oval with a small circle inside of it and shade in the circle.

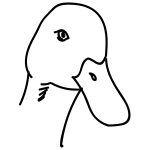
Step 3: Now we need to give our goose a body. Draw a long curved line to make the goose's back and a longer curving line from it's tail and connect it underneath the beak. Draw two curving lines from the beak up towards the eyes and you'll see your goose begin to take shape.

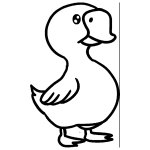
Step 4: Our goose wouldn't be a goose without wings, so now draw a downward curving line on the body and bring it back around until it almost makes an oval, but not quite. Add one more curving line upward and our goose now has it's wings!

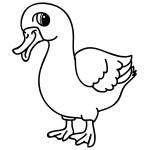
Step 5: Our last step can be a little tricky, but nothing too hard. Form the Goose's webbed feet by drawing three 'fingers' for each foot and connecting them with a short line between each to make the webbing. Now your Baby Goose is done!
How to Draw a Baby Goose – Step-by-Step Tutorial