
In this quick tutorial you'll learn how to draw a Butterfly For Kids in 6 easy steps - great for kids and novice artists.
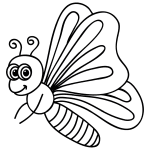
The images above represent how your finished drawing is going to look and the steps involved.
Below are the individual steps - you can click on each one for a High Resolution printable PDF version.
At the bottom you can read some interesting facts about the Butterfly For Kids.
Make sure you also check out any of the hundreds of drawing tutorials grouped by category.
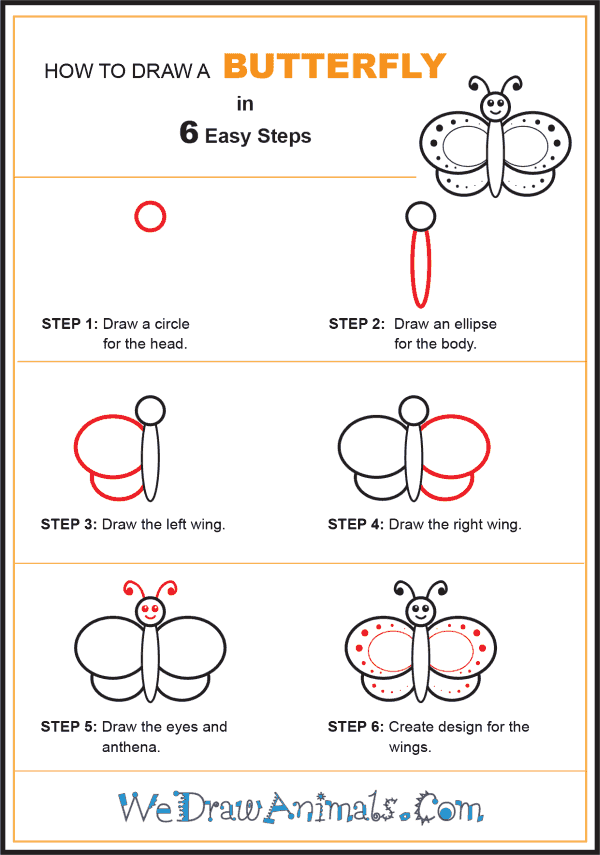
How to Draw a Butterfly For Kids - Step-by-Step Tutorial
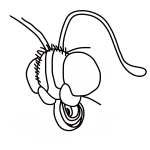

Step 1: Start your butterfly drawing by making a circle for its head.

Step 2: Beneath the circle draw an elongated ellipse for the body.

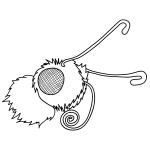
Step 3: For the left wing, draw a big looped line and then draw a smaller looped line beneath it.

Step 4: Do the same thing for the right wing. Make sure to keep your wings symmetrical.

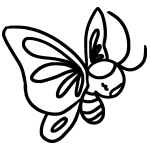
Step 5: Butterflies have big eyes compared to their heads, so draw to big shaded circles for the eyes. Make sure to leave white dots in the corners to show reflection. Draw an upward-pointing curve for the mouth. Draw the antennae as swirly lines protruding from the top of your butterfly's head.

Step 6: Butterflies have vibrant, intricate patterns on their wings. Make the pattern with shaded circles and looped lines. Feel free to experiment and be creative!
How to Draw a Butterfly for Kids – Step-by-Step Tutorial