

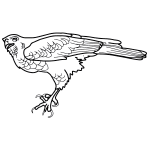
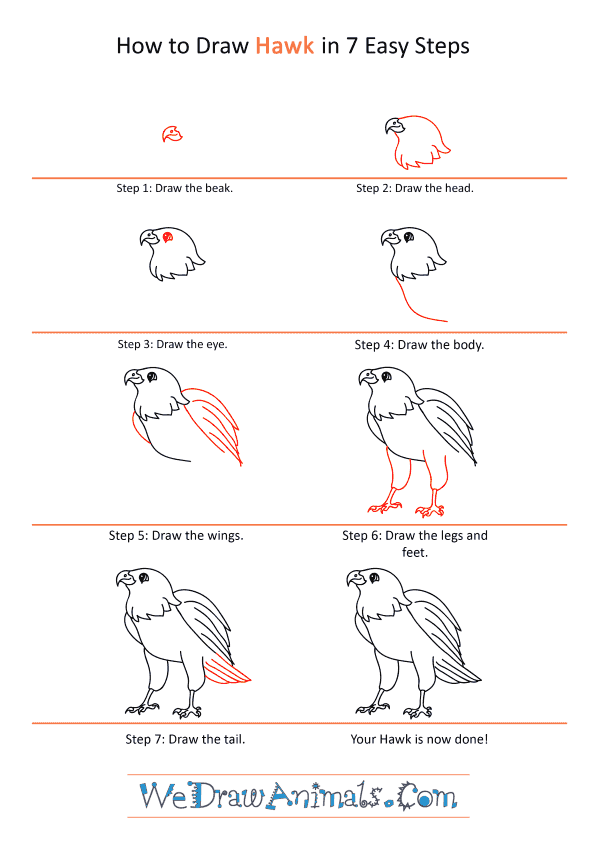
Step 1: Let's start with the beak of the hawk. Create a small circular shape with a downward curve off to the left for a pointy beak tip.

Step 2: Next, off to the right of the beak, it's time to draw the head. Draw two curved lines down from the beak and at the bottom, add some irregularity to the lines to create textured feathers.

Step 3: Now for the eye. Directly off to the right of the beak, add a big circle for the hawk's eye.

Step 4: The body of the hawk is very simple. Let's just draw a curved vertical line down from the left side of the hawk's head and feathers.

Step 5: Your hawk needs his wings! Above the right-end of the body, add several curved downward lines. They can be random and various lengths. Add another very small line off next to the curved line you already drew for the body.

Step 6: To begin the legs and feet, draw two vertical parallel lines down from the left-side of the hawk's body. Make sure there is a space and then repeat the previous line step off to the right a bit. At the bottom of both line couples, add a very curved line and connect that back up to the leg to create the feet and sharp nails. Repeat this step once again off to the right.

Step 7: Lastly, it's time for the tail. Underneath the wings of the hawk, add a few more diagonal lines, all connected at the bottom. They should be shorter than the wing lines above.
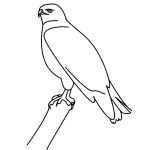
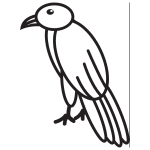
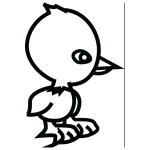
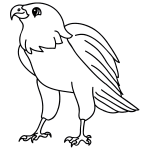
How to Draw a Cartoon Hawk – Step-by-Step Tutorial