
In this quick tutorial you'll learn how to draw a Cartoon Ladybug in 9 easy steps - great for kids and novice artists.
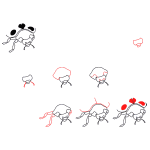
The images above represent how your finished drawing is going to look and the steps involved.
Below are the individual steps - you can click on each one for a High Resolution printable PDF version.
At the bottom you can read some interesting facts about the Cartoon Ladybug.
Make sure you also check out any of the hundreds of drawing tutorials grouped by category.
How to Draw a Cartoon Ladybug - Step-by-Step Tutorial
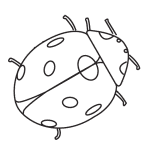


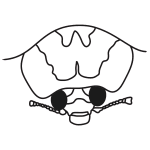

Step 1: It's lucky ladybug time! Begin by drawing a circular-shaped figure with slight indents at the top.

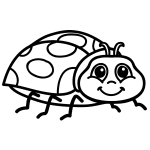
Step 2: In the middle of the figure, add two dome facing upward and underneath both, add a curved line. Inside the domes, add a large black dot for the pupil.

Step 3: Now, in between the two eyes, add a tiny curved line for the nose.

Step 4: Underneath the nose, create a larger curved line for the mouth and add two tiny lines at each end.

Step 5: Now, off the top of the head, create two antennas by drawing two pairs of vertical lines that connect at a point.

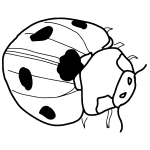
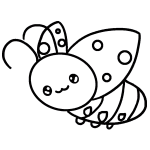
Step 6: Let's draw in the wings! Begin by drawing a curved line off the left side of the head, very close to the original line. Now, off of this new line, draw in an almond-shaped figure for the front wing. Slightly above the wing, add another horizontal curved line for the back wing.

Step 7: Add some character to your ladybug! Cover the wings with different sized spots.

Step 8: Underneath the front wing, draw in another curved line for the abdomen of the lady bug.

Step 9: Now, from the center of the abdomen, add three jagged lines off to the left for the legs. Underneath the chin of the ladybug, add two jagged lines off to the right.

How to Draw a Cartoon Ladybug – Step-by-Step Tutorial