

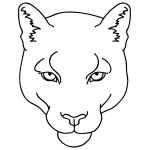
Step 1: Let's begin with the head. Draw a circular figure in the center of the page, leaving an opening at the bottom.

Step 2: Now at the base, add an upside down dome and then within the dome, add a small triangle and horizontal line for the nose and mouth.

Step 3: Now off the top of the head, add two cones for the ears, one on each side. Add a vertical line through each one.

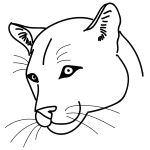
Step 4: Next, in the middle of the head, add two evenly spaced circles for the eyes. At the base of each circle, add a small curved line for the lower lid.

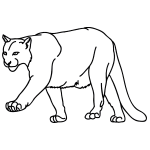
Step 5: Move to the middle of the chin at its base and draw in a vertical line that runs slightly off to the right. Add an additional curved line starting from the base of the right ear. This line should begin horizontal and curve into the vertical direction, creating the back of the mountain lion.

Step 6: Now, at the base of the left-most line, add two vertical parallel lines that connect at the base by adding in the foot. Move a bit over to the right and repeat this process. These lines should be a bit longer than the first and should also connect at the base with a few curved toes.

Step 7: From the middle of the front leg, add a diagonal line. Moving a bit over to the right, add in a semi-circle and connect both lines at the base with the additional of the foot.

Step 8: Lastly, move to the base of the lion on the right and add two curved lines running in the upward direction. Connect both at the end to complete the tail!
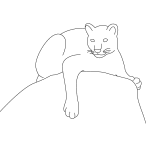
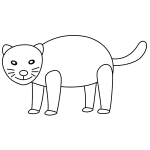
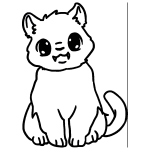
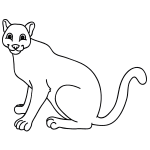
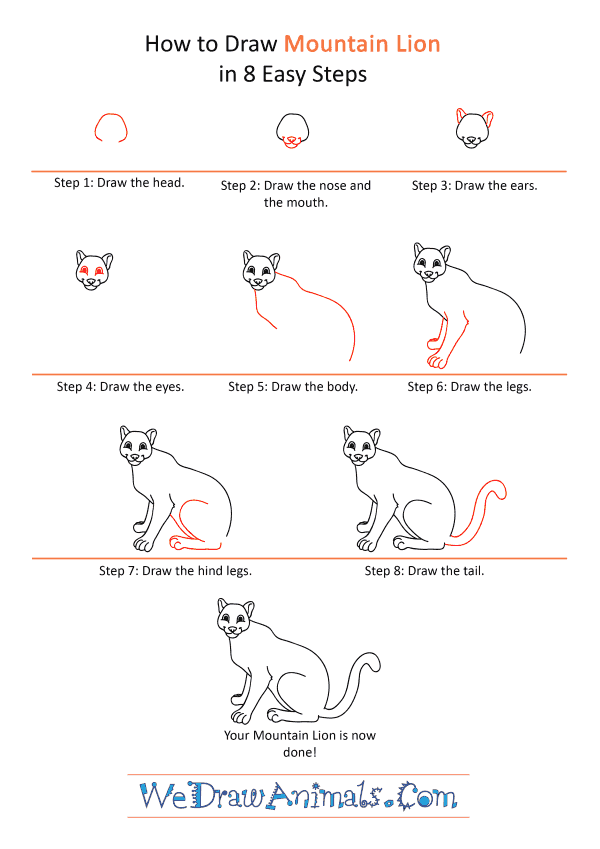
How to Draw a Cartoon Mountain Lion – Step-by-Step Tutorial