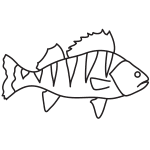
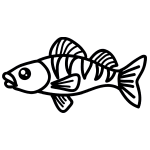
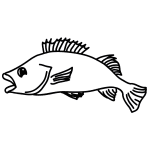
In this quick tutorial you'll learn how to draw a Cartoon Perch in 5 easy steps - great for kids and novice artists.
The images above represent how your finished drawing is going to look and the steps involved.
Below are the individual steps - you can click on each one for a High Resolution printable PDF version.
At the bottom you can read some interesting facts about the Cartoon Perch.
Make sure you also check out any of the hundreds of drawing tutorials grouped by category.
How to Draw a Cartoon Perch - Step-by-Step Tutorial
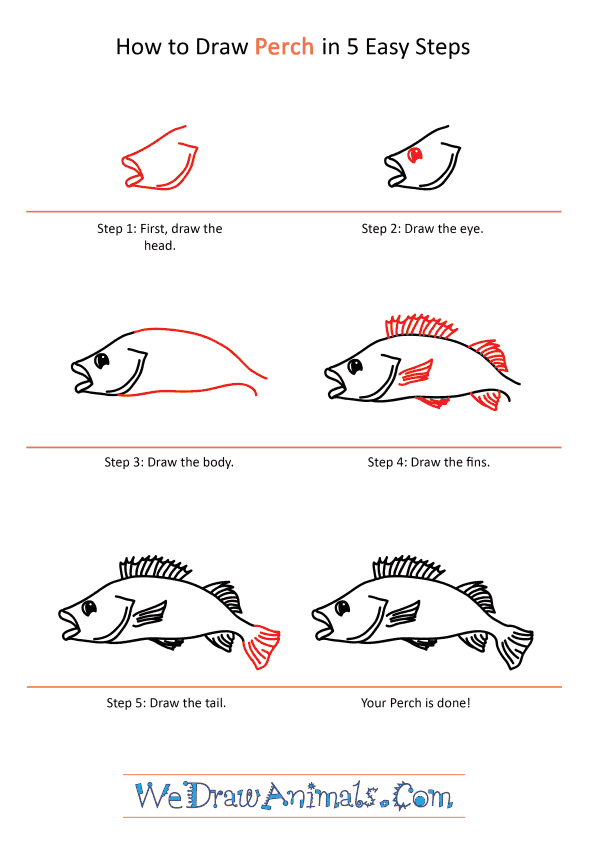
Step 1: Begin by drawing the head. Draw in a diagonal line with a slight curve at the top part. Draw the mouth by drawing in two “V” shaped parts, one inside the other. Then draw a long curve with a diagonal line at the top and a curved line just above.
Step 2: Then you'll draw the eye just below the center of the top of the head, making it a circle with a semi-circle cut out of the bottom of it. Don't forget to fill in the circle.
Step 3: Draw in two long curved lines, one connecting to the top of the head and the other connecting to the bottom part of the jaw and having a sharp downward curve just before the two lines would meet.
Step 4: Now it's time to draw the spiky fins. Start with the top dorsal fin near the center of the back, drawing in several curving vertical lines extending upward and connected by looping lines. Then draw the second dorsal fin near the tail in much the same way, but making this one slightly less spiky than the first. You'll also add in the fin on the side by drawing several horizontal lines and connecting the right side with a wavy line from the top line to the bottom line. Draw the bottom fins by drawing two triangles, a shorter one near the center of the belly and a taller curved triangle near the tail. Finish the bottom fins by drawing in several curving lines in each fin.
Step 5: Finally, draw in a broom-shaped tail fin with several curving horizontal lines.


