
In this quick tutorial you'll learn how to draw a Chameleon For Kids in 6 easy steps - great for kids and novice artists.
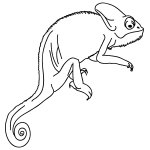
The images above represent how your finished drawing is going to look and the steps involved.
Below are the individual steps - you can click on each one for a High Resolution printable PDF version.
At the bottom you can read some interesting facts about the Chameleon For Kids.
Make sure you also check out any of the hundreds of drawing tutorials grouped by category.
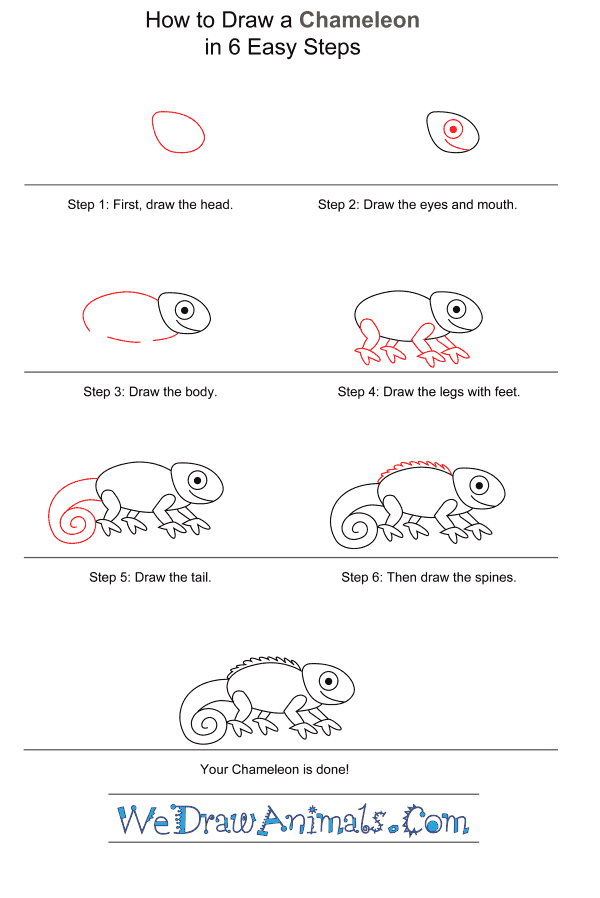
How to Draw a Chameleon For Kids - Step-by-Step Tutorial
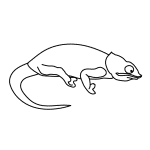
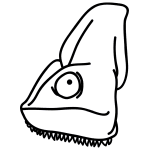
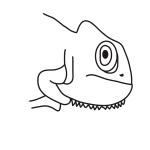

Step 1: Draw an egg-shaped ellipse for the head of your chameleon.

Step 2: A chameleon's eyes provide it with vision in all directions. Draw the chameleon's unique eyes as a big, open circle with a smaller shaded circle inside it. Add a curve for the mouth.

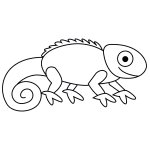
Step 3: Draw three curved lines for the body. Leave gaps for the legs.

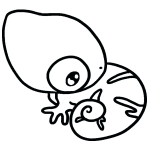
Step 4: Draw the right legs as two sets of kinked lines each. Draw the rear legs as parallel lines. Draw the three-toed feet as jagged lines at the bottom of the legs.

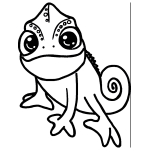
Step 5: Draw two swirls: a big one with a smaller one inside to form the chameleon's large, coiled tail.

Step 6: Draw the chameleon's spines as a jagged line running from the base of the chameleon's head all the way down its back.

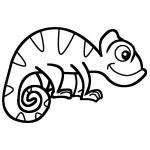
Step 7: Chameleons have the amazing ability to blend into their surroundings, so experiment with crazy color combinations!
How to Draw a Chameleon for Kids – Step-by-Step Tutorial