
In this quick tutorial you'll learn how to draw a Chimpanzee For Kids in 8 easy steps - great for kids and novice artists.
The images above represent how your finished drawing is going to look and the steps involved.
Below are the individual steps - you can click on each one for a High Resolution printable PDF version.
At the bottom you can read some interesting facts about the Chimpanzee For Kids.
Make sure you also check out any of the hundreds of drawing tutorials grouped by category.
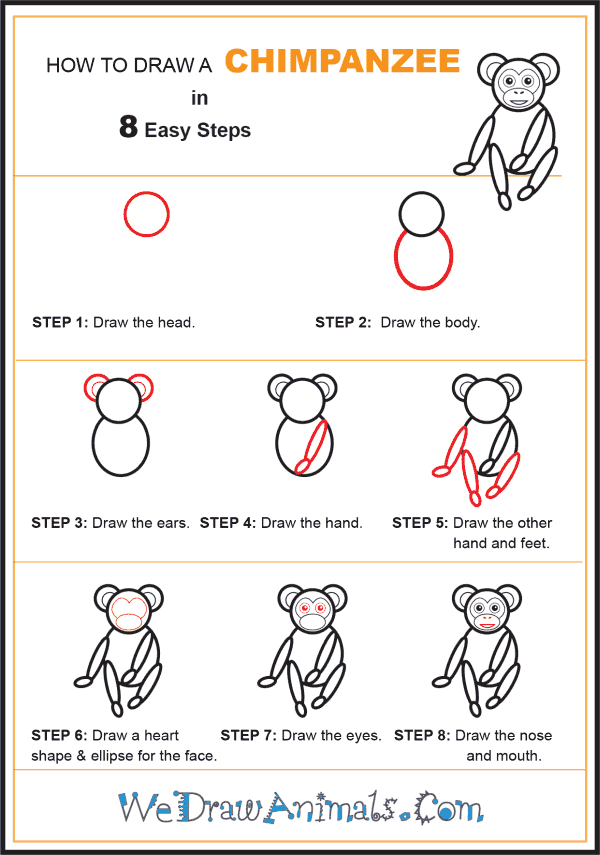
How to Draw a Chimpanzee For Kids - Step-by-Step Tutorial
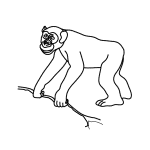
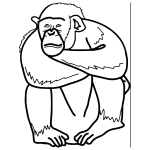

Step 1: Chimpanzees are the animals that are most closely related to humans. Begin your chimp with a circle for its head.

Step 2: Draw an open-ended oval beneath the circle for the body.

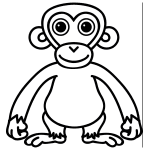
Step 3: Draw the chimpanzee's huge ears as two sets of half-loops, one inside the other. Make sure the outer loop is darker.

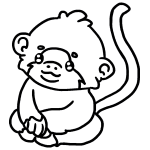
Step 4: Draw the chimpanzee's left arm as two ovals joined ovals. One oval should be much longer than the other. The arm should run from right to left across the body as you look at it.

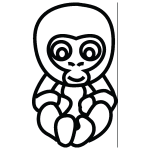
Step 5: Draw the other arms and legs as two similar sets of ovals. They should be angled to make it look like the chimpanzee is sitting.

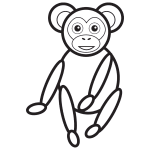
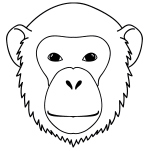
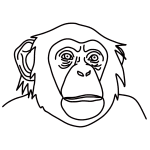
Step 6: The chimpanzee's fur makes a heart shape around its eyes. Draw the heart and then make the mouth as an oval as if it is layered on top of the heart.

Step 7: Draw each eye as a big open circle with a shaded circle inside. Leave white dots in the corner of each shaded circle to show reflection.

Step 8: Add two lines for nostrils and a "D" shape for the mouth.
How to Draw a Chimpanzee for Kids – Step-by-Step Tutorial