
In this quick tutorial you'll learn how to draw a Duck For Kids in 7 easy steps - great for kids and novice artists.
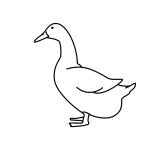
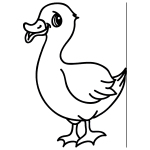
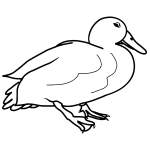
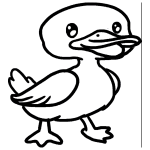
The images above represent how your finished drawing is going to look and the steps involved.
Below are the individual steps - you can click on each one for a High Resolution printable PDF version.
At the bottom you can read some interesting facts about the Duck For Kids.
Make sure you also check out any of the hundreds of drawing tutorials grouped by category.
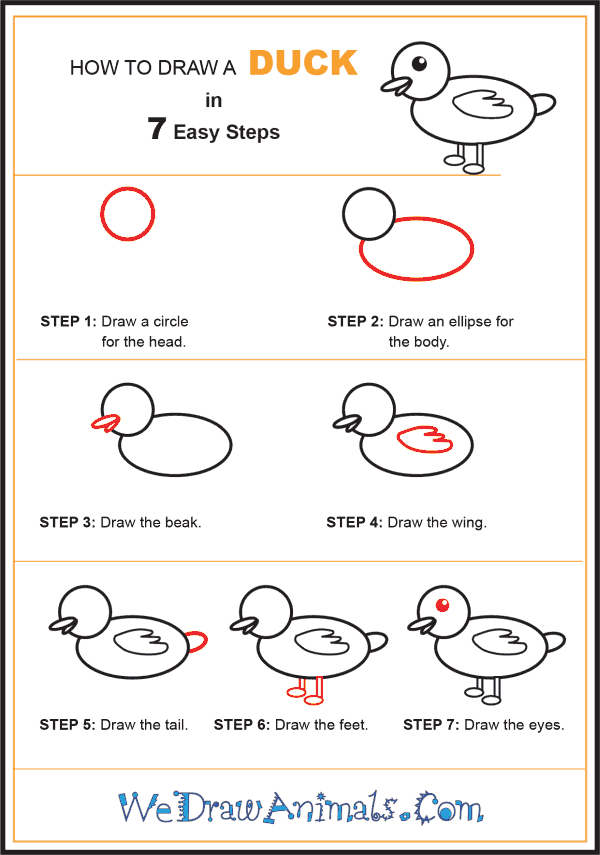
How to Draw a Duck For Kids - Step-by-Step Tutorial
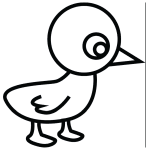

Step 1: Begin your duck by drawing a circle for the head.

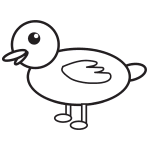
Step 2: Next, you will draw an ellipse on the bottom right side of the head to form the body.

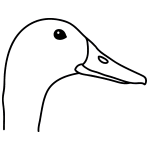
Step 3: Our duck's beak will be flat and slightly open. To draw it, make two elliptical loops. The top loop will be larger and will protrude straight out of the duck's head. The second loop will be smaller and angled downward.

Step 4: To draw the duck's small wing, make a three-lobed freeform in the middle of the ellipse.

Step 5: Draw the duck's tail as a single curved line on the rear of the duck's body.

Step 6: The duck's feet are simply drawn as two sets of parallel lines that attach to ovals for the feet. No need to go into any more detail.

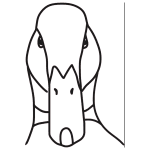
Step 7: Draw the duck's eye as a big circle in the center of its head. Shade a crescent shape into it to give the illusion of reflection. Ducks come in many colors and are often a mixture of colors. If you decide to color your duck it may be fun to be creative in the mixture of colors you choose.
How to Draw a Duck for Kids – Step-by-Step Tutorial