

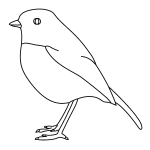
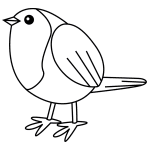
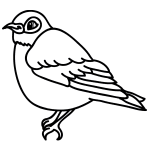
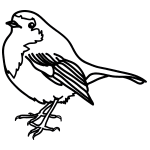
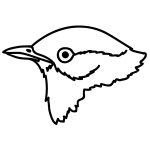
Step 1: Draw a small diamond shaped beak to start with your robin.

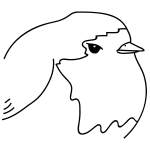
Step 2: Now draw the body by drawing a line curved right above the beak for the head and make it go diagonally down to the right for the body. For the belly draw a semi-circular line starting from below the beak and going down horizontally. Draw a fuzzy line from above the beak to the belly for detail.

Step 3: Draw the eye on the right side of the beak inside the fuzzy line.

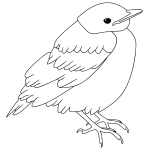
Step 4: Now we draw the wing in the middle of the body which is triangular. Draw parallel diagonal lines on the wings for detail and let them overlap the base of the wing and run a little longer.

Step 5: Draw the tail by drawing a curved horizontal line at the bottom of the body. Now draw another line below that and connect it to the wing. Make the tail wider at the end and thiner at the tip.

Step 6: Let's draw the feet now. Draw a curved line to complete the belly. Now Draw two long thin legs arising from below the body and draw four long pointed toes at the end of each leg. Now draw hook-like pointy nails at the end of each toe. Make sure one leg is behind the other.
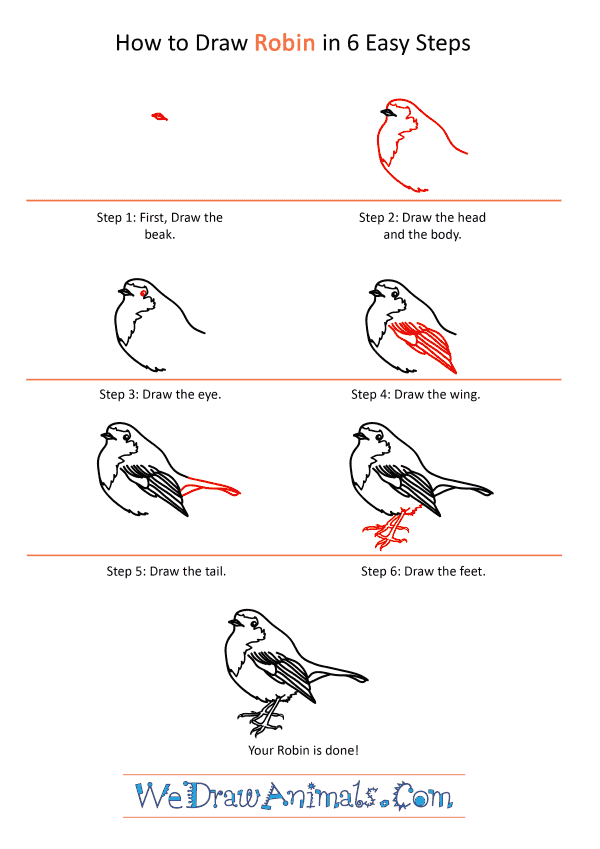
How to Draw a Realistic Robin – Step-by-Step Tutorial