
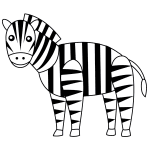
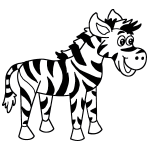
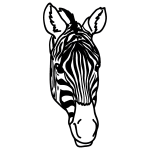
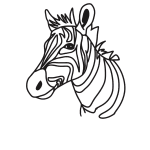
In this quick tutorial you'll learn how to draw a Realistic Zebra in 9 easy steps - great for kids and novice artists.
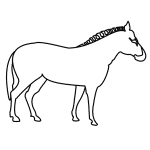
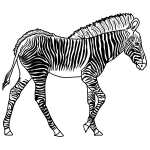
The images above represent how your finished drawing is going to look and the steps involved.
Below are the individual steps - you can click on each one for a High Resolution printable PDF version.
At the bottom you can read some interesting facts about the Realistic Zebra.
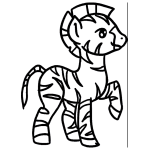
Make sure you also check out any of the hundreds of drawing tutorials grouped by category.
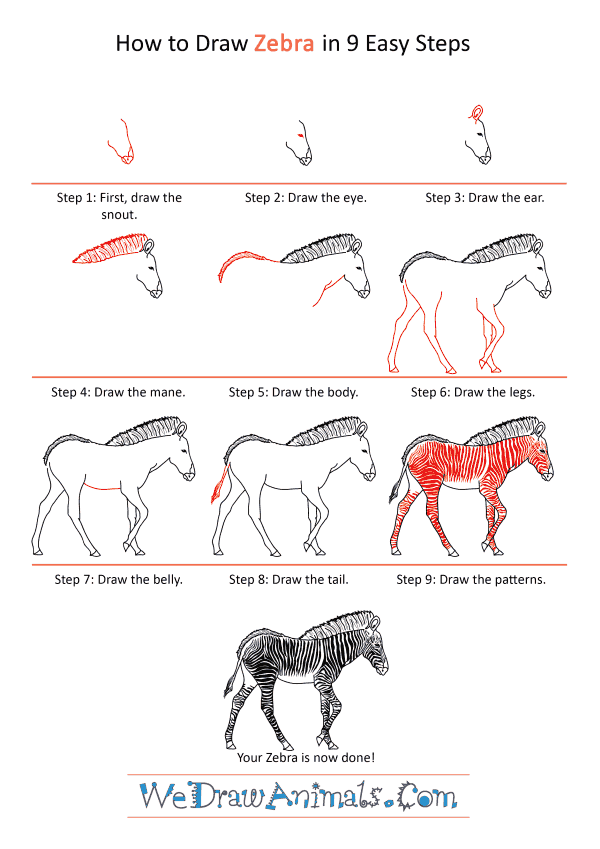
How to Draw a Realistic Zebra - Step-by-Step Tutorial

Step 1: Draw the snout by drawing a slant "V" with a rounded bottom for the nose. Draw a few lines at the bottom for detail.

Step 2: Draw an almond-shaped eye and fill it in near the top of the head.

Step 3: Now draw a n oval shaped ear above the eye with another smaller oval inside.

Step 4: Now we draw the mane by drawing a horizontal line starting from behind the ear. Now draw a fuzzy line a little above this line starting from top of the line on the left to the topof the ear on the right. Draw vertical curved wiggly lines on the mane for detail and the hair.

Step 5: Draw a curved line behind the mane curving downwards at the left for the body. Draw a curved line below the head going downwards.

Step 6: Now draw four long, thin legs below the body, making sure they are slightly wider at the top. Make the front leg bend at an angle of 45 and the other legs straighter. Draw a triangular hoof at the bottom of every leg.

Step 7: Draw the belly by drawing a curved line between the legs.

Step 8: Draw a thin tail behing the hind legs with a triangular hair tuft at the end. Make sure you make the tail only long enough to go to the half of the legs.

Step 9: Draw thick black vertical lines across the body and horizontal thick lines across the legs. These are the patterns the Zebra has.
How to Draw a Realistic Zebra – Step-by-Step Tutorial