

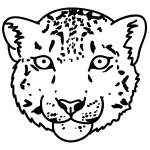
Step 1: Draw a circle for the snow leopard's head.

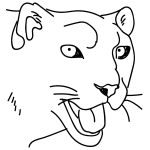
Step 2: Now add two small ears on the top of the head. Then draw two ovals for eyes, an oval for the nose, and whiskers and a mouth inside the head.

Step 3: Draw a curve for the back and two smaller curves for the belly, leaving room for legs.

Step 4: Next, add two ovals for the back leg in the space you left on the back of the animal. Draw two ovals for feet below. Then draw the front legs. Don't forget smaller feet on the bottom of these legs.

Step 5: Add a long curved tail on the back of the snow leopard. This helps the animal balance.

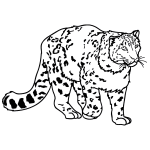
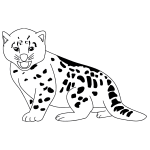
Step 6: Finally, draw spots on the body and legs. Snow leopards need thick fur to keep warm in cold, snowy places.

Step 7: Congratulations on drawing a snow leopard! You might want to color it in now!
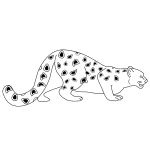
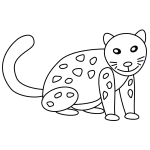
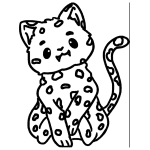
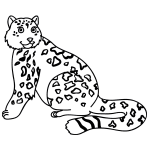
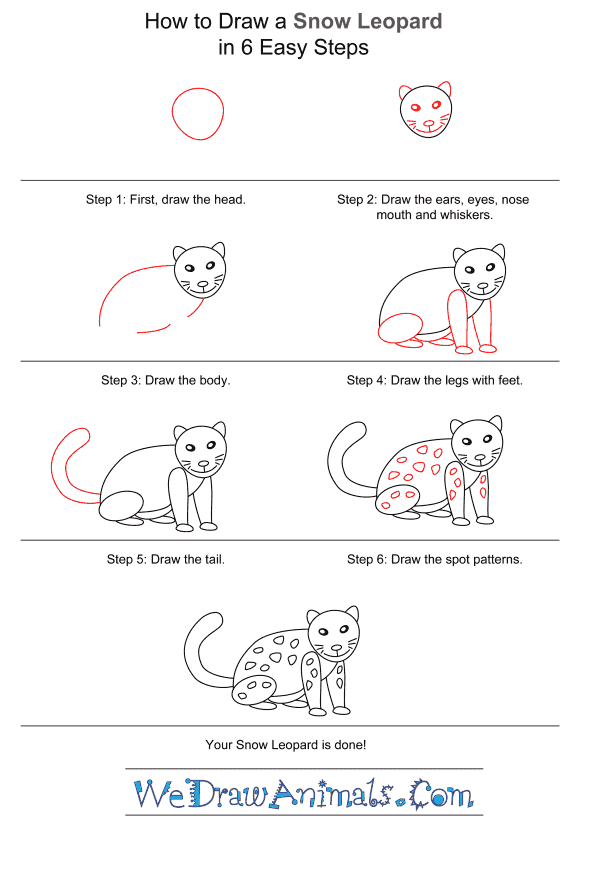
How to Draw a Snow Leopard for Kids – Step-by-Step Tutorial