

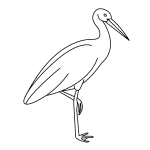
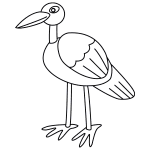
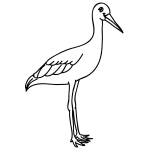
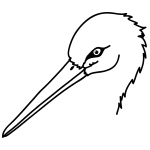
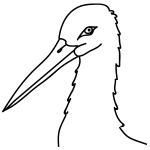
Step 1: Let's begin with the stork's head and neck. Draw a circle for the head, leaving a small space on the side for the beak. Then draw a long, thin neck below the circle.

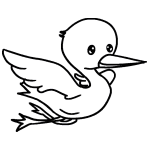
Step 2: Add a dot for the eye and a large beak in the open section of the circle. This lets them catch and eat fish.

Step 3: Draw an oval around the eye. Storks usually have a black area around their eyes.

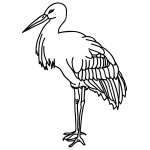
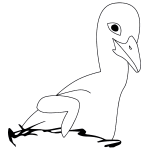
Step 4: Now draw an oval for the body and leave a gap on the back for its wings.

Step 5: Next, add long, thin legs and flat feet with three toes.

Step 6: Finally, draw an oval for the stork's wing. Add a wavy line halfway down and then add three lines going the other direction for the feathers. Then draw the tail with lines for feathers on the end.

Step 7: Congratulations on finishing your stork drawing! Storks are commonly white with black wings if you want to add color.
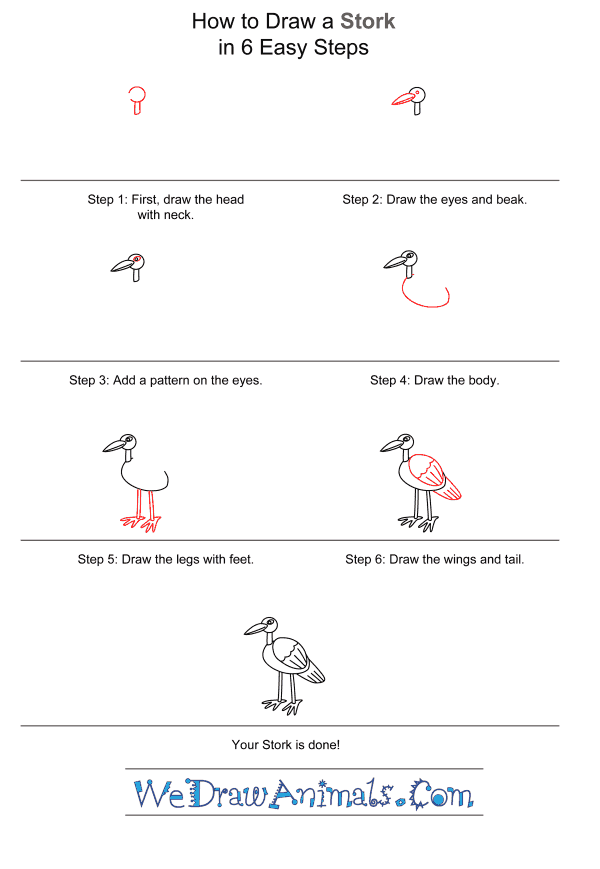
How to Draw a Stork for Kids – Step-by-Step Tutorial