

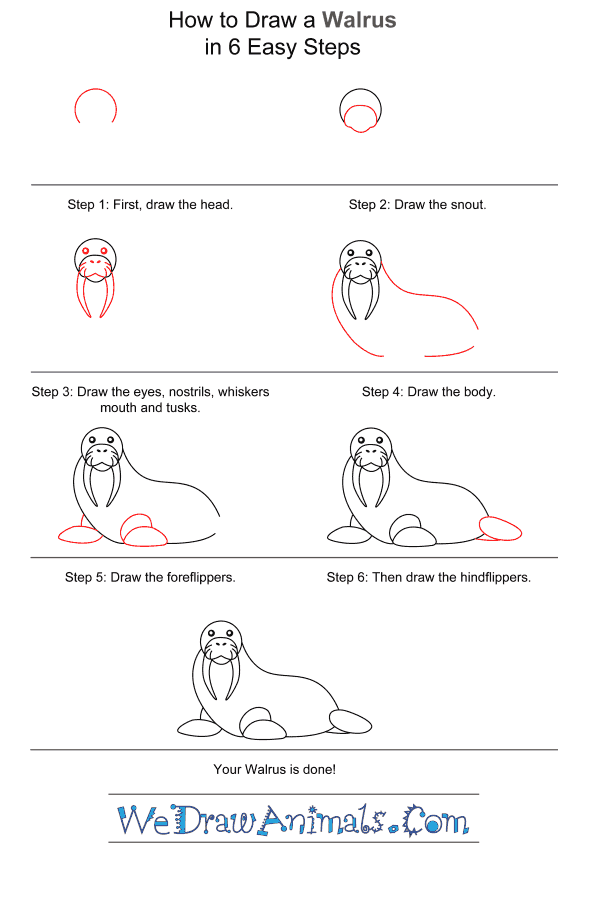
Step 1: First, draw a circle for the walrus' head. Leave an open space on the bottom of the circle where the snout will go.

Step 2: Now draw a half circle in the open space for the snout with a bump at the bottom for the chin.

Step 3: Add two circles for eyes above the snout. Then draw nostrils and whiskers on the snout, an upside down "v" for the mouth, and two long, sharp tusks from the mouth.

Step 4: Draw a "s" shaped curve for the walrus' back and a curve on the other side of the tusks for the chest. Then draw a small curve for the belly with room on either side for the flippers.

Step 5: Next, in the first space you left open draw two stubby legs and two half circles for the foreflippers. These let the walrus crawl on the land.

Step 6: Finally, draw an oval in the space at the back of the walrus for a hindflipper. Add a line below it for the second hindflipper that we cannot see from this side.

Step 7: You have successfully completed your walrus! You might want to color it brown or grey now!
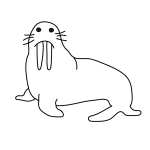
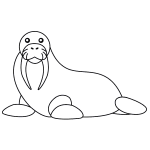
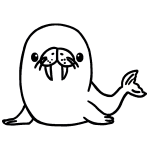
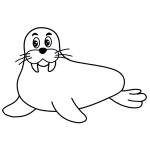

How to Draw a Walrus for Kids – Step-by-Step Tutorial