
In this quick tutorial you'll learn how to draw a Wolf Pup For Kids in 6 easy steps - great for kids and novice artists.
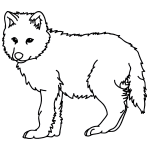
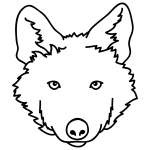
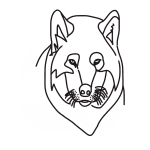
The images above represent how your finished drawing is going to look and the steps involved.
Below are the individual steps - you can click on each one for a High Resolution printable PDF version.
At the bottom you can read some interesting facts about the Wolf Pup For Kids.
Make sure you also check out any of the hundreds of drawing tutorials grouped by category.
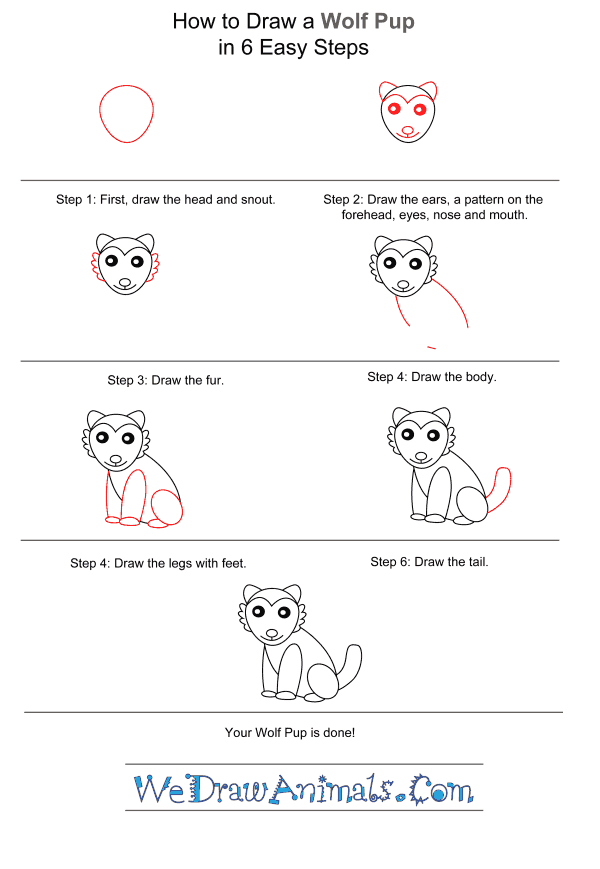
How to Draw a Wolf Pup For Kids - Step-by-Step Tutorial
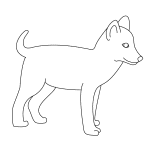

Step 1: Start your wolf pup drawing with a circle for the head. Make the bottom a little thinner than the top.

Step 2: Next, draw two rounded triangles for ears on top of the head, a line on the forehead for the fur patter, two round eyes, an oval for a nose, and a mouth.

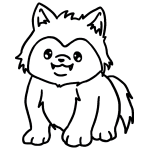
Step 3: Draw two small tufts of fur on the sides of the wolf's head. The wolf pup needs thick fur to stay warm in the snow.

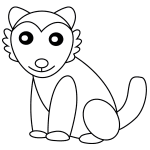
Step 4: Now draw a curve for the back and a smaller curve for the front. The pup is sitting down, so angle these towards the ground. Leave a space for the front leg and add a small line behind the chest, leaving room for the back leg.

Step 5: Add two front legs and two front paws. Use round lines and don't make them too long because the wolf pup is still small. Draw a circle for the back leg connected to a half circle for the foot.

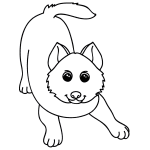
Step 6: Finish your drawing with a small, curved tail behind the back leg.

Step 7: You have completed your wolf pup drawing! Now you can think about coloring in the fur!
How to Draw a Wolf Pup for Kids – Step-by-Step Tutorial