
In this quick tutorial you'll learn how to draw a Woodpecker For Kids in 5 easy steps - great for kids and novice artists.
The images above represent how your finished drawing is going to look and the steps involved.
Below are the individual steps - you can click on each one for a High Resolution printable PDF version.
At the bottom you can read some interesting facts about the Woodpecker For Kids.
Make sure you also check out any of the hundreds of drawing tutorials grouped by category.
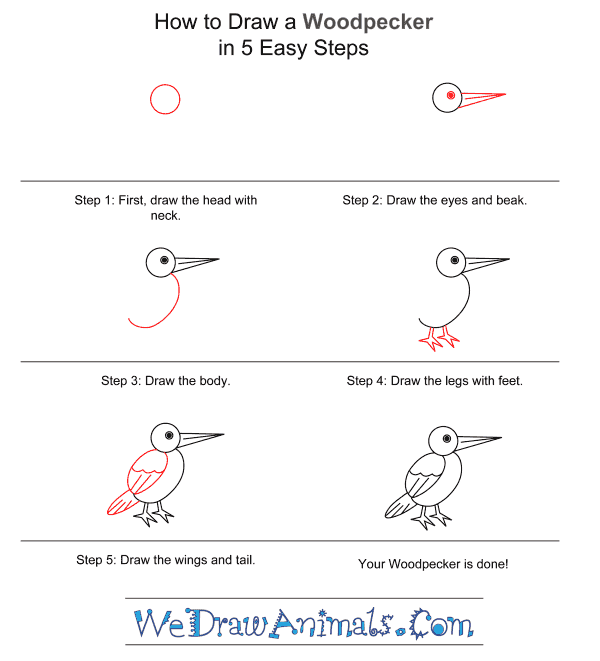
How to Draw a Woodpecker For Kids - Step-by-Step Tutorial
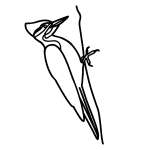


Step 1: To begin drawing a woodpecker, draw a circle for the head.

Step 2: Inside the circle, add a round dot with a circle surrounding it for the eye. Draw a long, thin triangle for the beak. The woodpecker uses its sharp beak to tap holes into trees. Add a line down the center of the beak for the mouth.

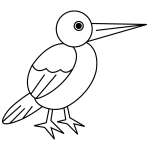
Step 3: Draw a partial oval for the woodpecker's chest. Leave a space on its back for the wing.

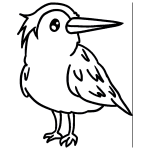
Step 4: Now draw two thin legs connecting to pointed feet and toes. These will help the woodpecker stand on tree branches.

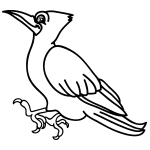
Step 5: Draw an oval in the space on the back for the wing. Add a curvy line halfway down for the feather pattern and add some lines to the ends to show texture. On the back end of the woodpecker, draw a half oval for the tail with lines for feathers on the end.

Step 6: Now that you have drawn your woodpecker add some color and a tree!
How to Draw a Woodpecker for Kids – Step-by-Step Tutorial