
In this quick tutorial you'll learn how to draw a Worm For Kids in 5 easy steps - great for kids and novice artists.
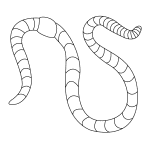
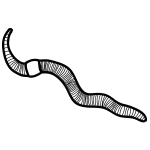
The images above represent how your finished drawing is going to look and the steps involved.
Below are the individual steps - you can click on each one for a High Resolution printable PDF version.
At the bottom you can read some interesting facts about the Worm For Kids.
Make sure you also check out any of the hundreds of drawing tutorials grouped by category.
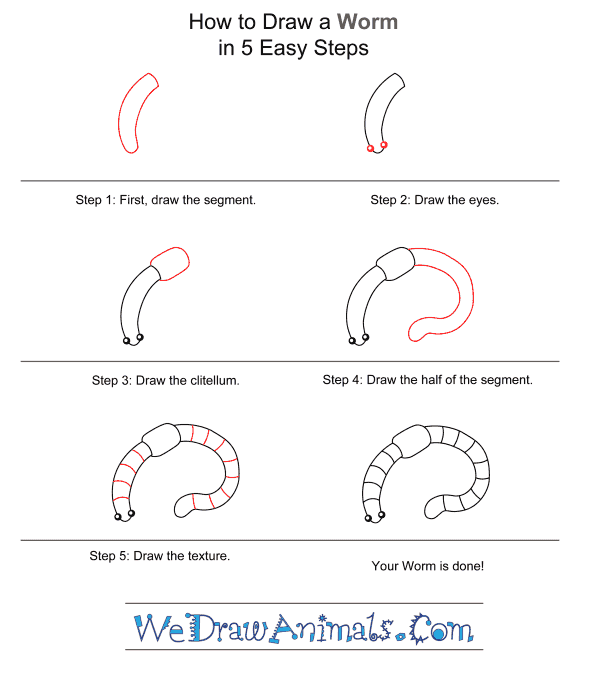
How to Draw a Worm For Kids - Step-by-Step Tutorial
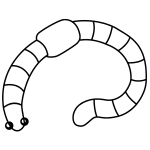
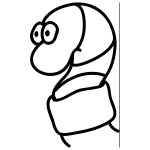

Step 1: Draw a long curved area for the worm's front segment. This should look kind of like a bent finger.

Step 2: Now add two circles for eyes in front.

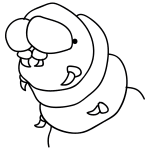
Step 3: The clitellum is a thicker section of the worm between the body segments. Add this as a rounded rectangle behind the segment you have drawn.

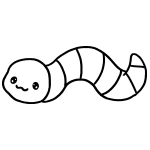
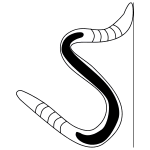
Step 4: Next, draw a long curved segment behind the clitellum for the end of the worm. Worms have long, stretchy bodies that lets them move around.

Step 5: Add lines down the body for texture.

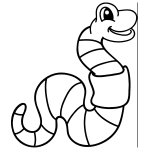
Step 6: Congratulations on finishing your worm drawing! Now you might want to give it some color!
How to Draw a Worm for Kids – Step-by-Step Tutorial