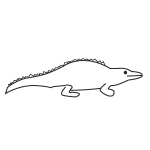
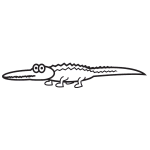
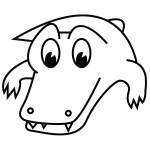
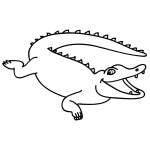
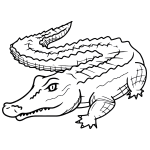
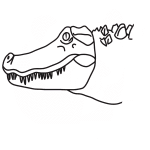
In this quick tutorial you'll learn how to draw an Alligator Face in 10 easy steps - great for kids and novice artists.
The images above represent how your finished drawing is going to look and the steps involved.
Below are the individual steps - you can click on each one for a High Resolution printable PDF version.
At the bottom you can read some interesting facts about the Alligator Face.
Make sure you also check out any of the hundreds of drawing tutorials grouped by category.
How to Draw an Alligator Face - Step-by-Step Tutorial
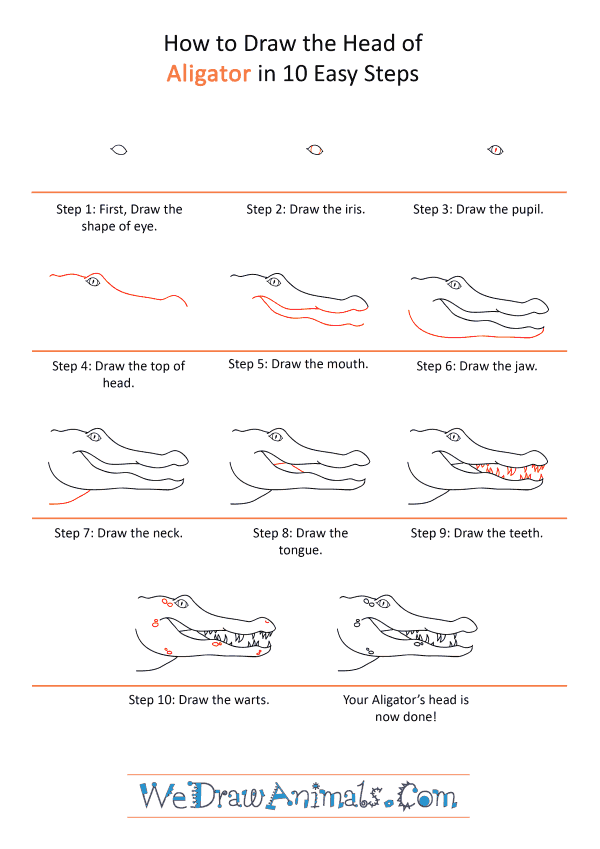
Step 1: We'll start by drawing the eyes. Draw an empty eye, shaped like an almond.
Step 2: Now draw a tiny circle inside the eye for iris.
Step 3: Next we draw the pupil which is like a tiny slit. The tiny slit instead of a small circular hole gives them special visual abilities under water and in the dark.
Step 4: Let's draw the top of the head now. Start drawing a bumpy line from the upper left of the eye, drawing over the eye and keep drawing slightly downward longer on the right side. End by drawing a bump at the end.
Step 5: Let's draw the mouth starting from the end of the snout and back all the way below the eye. Now draw another line all the way back below the the snout to make the mouth open a little bit wider at the edge.
Step 6: Now draw the jaw beneath the mouth starting from the tip of the mouth to the end of the mouth, now curve the line upward to finish the jaw.
Step 7: Draw a curved line below the angle of the jaw for the neck.
Step 8: Draw a curved line inside the mouth to mak ethe tongue.
Step 9: Draw teeth on the upper and lower edge . The alligator has sharp pointed small teeth in clusters.
Step 10: Draw tiny clusters of circles all over the alligator's head. These are warts that all alligators have on their skins.

