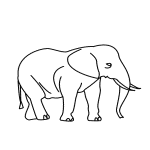
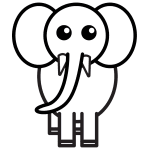
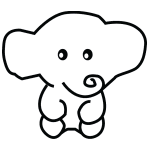
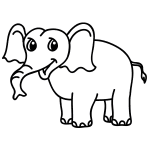
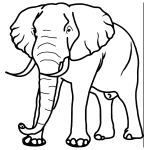
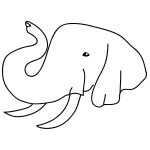
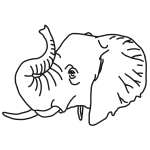
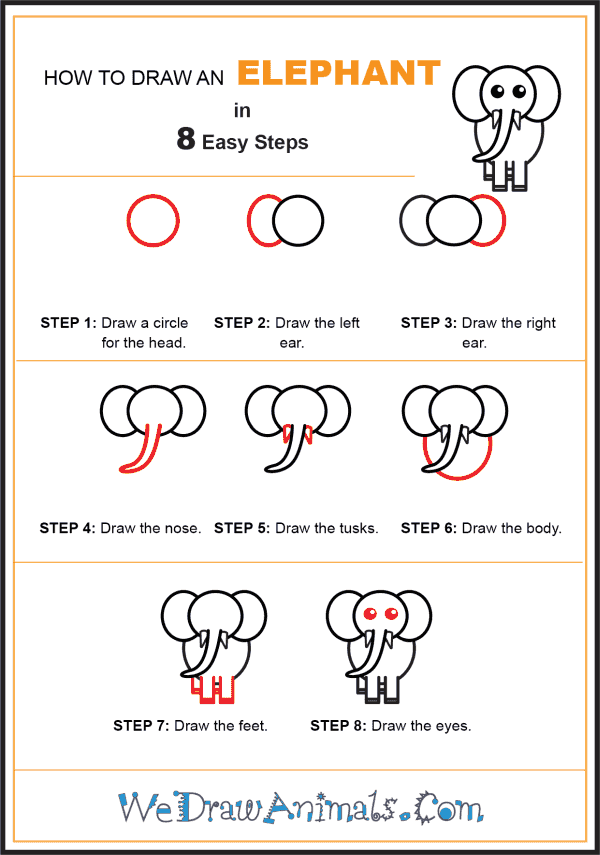
In this quick tutorial you'll learn how to draw an Elephant For Kids in 8 easy steps - great for kids and novice artists.
The images above represent how your finished drawing is going to look and the steps involved.
Below are the individual steps - you can click on each one for a High Resolution printable PDF version.
At the bottom you can read some interesting facts about the Elephant For Kids.
Make sure you also check out any of the hundreds of drawing tutorials grouped by category.
How to Draw an Elephant For Kids - Step-by-Step Tutorial
Step 1: Elephants are the largest living land animals. Begin your elephant by drawing a circle for its head.
Step 2: Draw an ellipse connected to the left side of the head to make the left ear. Elephants have enormous, flappy ears.
Step 3: Draw the right ear in the same manner, but on the right side of the head.
Step 4: Elephants are famous for their long trunks. An elephant's trunk is its nose and it can do many things with it. Draw the elephant's trunk as two curved lines that meet in a rounded point at the tip.
Step 5: Elephants are also famous for their tusks, which are made of ivory. Draw the tusks as cones next to the trunk.
Step 6: Elephants have huge bodies. Draw the body as a wide oval beneath the head. Make sure you leave a gap where the trunk crosses the body.
Step 7: Draw the elephant's thick legs and feet as parallel lines joined to rectangles.
Step 8: Draw the elephant's eyes as big circles with crescent shapes shaded into them. If you want to color your elephant, you should know that they are usually grey or brown in color.

