

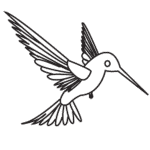
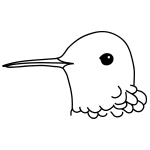
Step 1: Let's draw a beautiful hummingbird. Begin by drawing three slightly diagonal lines, all which are parallel to one another. At the right end of the lines, connect them with a sharp tip to create the bird's beak.

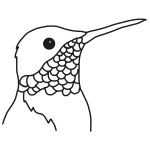
Step 2: Next, draw a curved line off the top line in the parallel grouping, it should start horizontal and curve downward into a vertical position. Next, add another vertical line down from the right-most diagonal line.

Step 3: Now that the head has been created, add a large dot in the middle of this figure to give the hummingbird an eye.

Step 4: Now comes the creative part! Time for the wings. Begin by drawing several horizontal, parallel lines off the back of the head. Connect all the lines at the end with a curved vertical line. Right below the back wings, the front wings will appear larger. Draw a horizontal line off to the left that has a slight diagonal direction to it. Underneath, add multiple horizontal lines and connect them all on the left-most end. Have some fun with this, there's no right or wrong way to complete this step!

Step 5: Now, draw in a vertical line off the base of the front wings and another curved vertical line off the front of the neck. Keep a space between the two lines for the tail.

Step 6: Tail time! Draw in three parallel lines very close together. They should be diagnonal and all connect at the end.

Step 7: Lastly, add two tiny dots at the base of the bird to give him some feet.
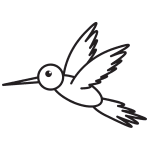
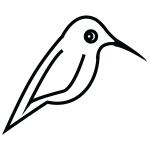
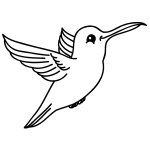
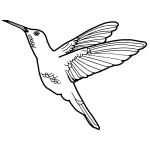
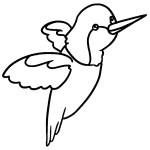
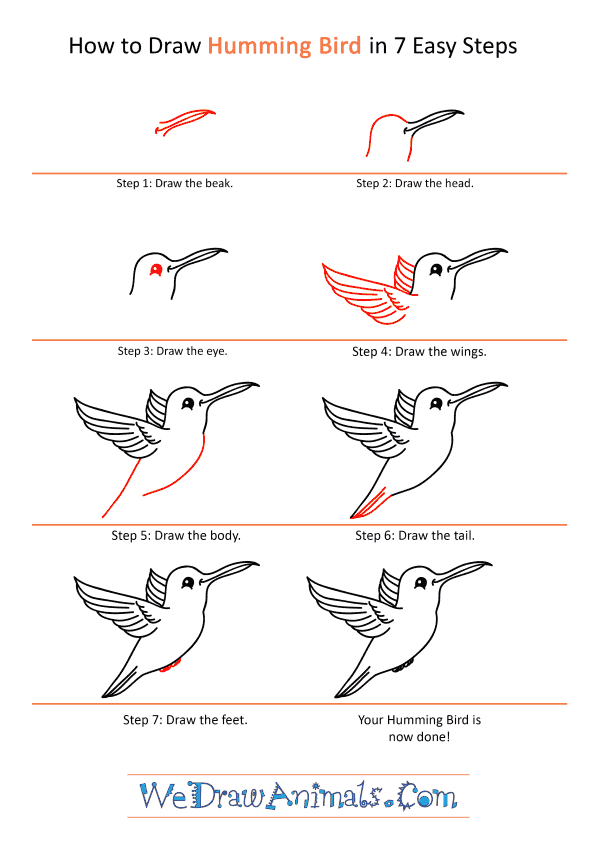
How to Draw a Cartoon Hummingbird – Step-by-Step Tutorial