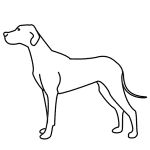
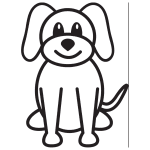
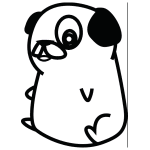
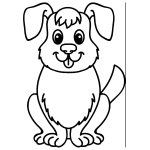
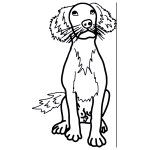
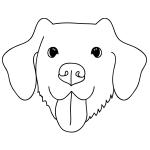
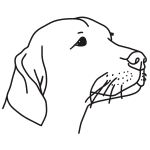
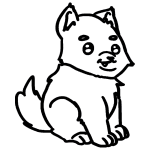
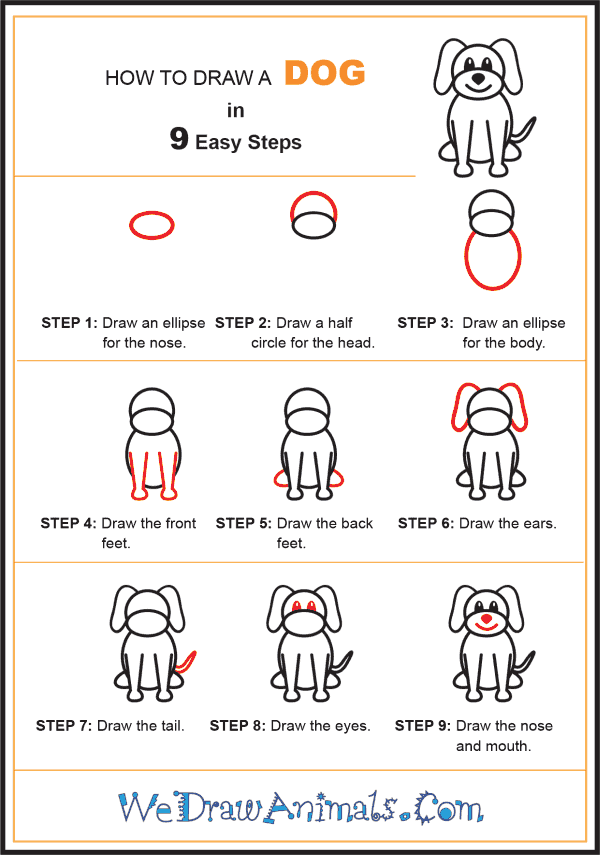
In this quick tutorial you'll learn how to draw a Dog For Kids in 9 easy steps - great for kids and novice artists.
The images above represent how your finished drawing is going to look and the steps involved.
Below are the individual steps - you can click on each one for a High Resolution printable PDF version.
At the bottom you can read some interesting facts about the Dog For Kids.
Make sure you also check out any of the hundreds of drawing tutorials grouped by category.
How to Draw a Dog For Kids - Step-by-Step Tutorial
Step 1: Dogs are famously known as "man's best friend." Begin your happy dog companion by drawing an ellipse for its snout.
Step 2: Add a half circle on top of the ellipse to form the rest of the dog's head.
Step 3: Add a larger elliptical loop to the bottom of the snout ellipse you drew in step 1.
Step 4: Draw the two front legs as gradually converging lines that join together in a rounded lobe.
Step 5: Draw each back leg as a curved line running from the bottom right and left of the dog's body.
Step 6: Add the dog's flappy ears as elongated loops on the sides of the dog's head.
Step 7: Draw the dog's long tail as two curved lines that converge in a point. When dogs are happy they wag their tails.
Step 8: Draw the dog's eyes as half-ovals resting on the top of the snout. Shade the eyes but remember to leave a small white dot at the top to show reflection.
Step 9: Draw the dog's nose as a shaded chevron shape at the top of the snout. Beneath it, draw an upward arching curve for the dog's mouth.

