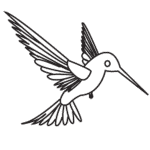
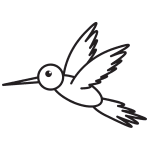
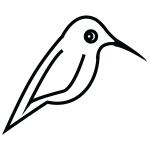
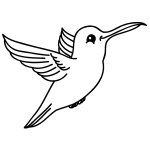
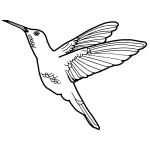
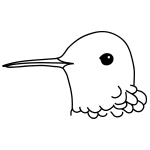
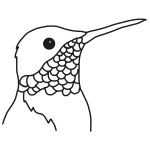
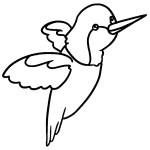
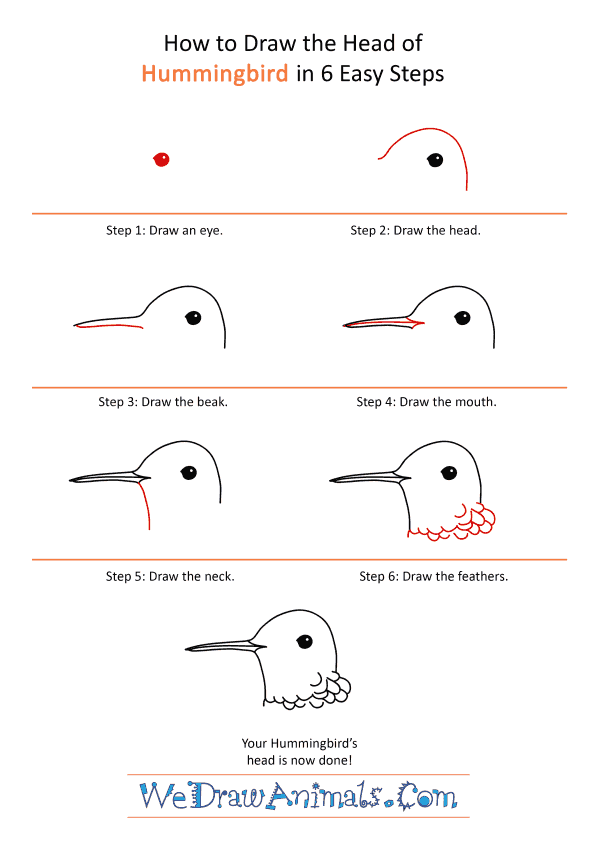
In this quick tutorial you'll learn how to draw a Hummingbird Face in 6 easy steps - great for kids and novice artists.
The images above represent how your finished drawing is going to look and the steps involved.
Below are the individual steps - you can click on each one for a High Resolution printable PDF version.
At the bottom you can read some interesting facts about the Hummingbird Face.
Make sure you also check out any of the hundreds of drawing tutorials grouped by category.
How to Draw a Hummingbird Face - Step-by-Step Tutorial
Step 1: Draw a circle for the eye. Erase a tiny dot in one corner.
Step 2: Make a half circle around the eye to make the head.
Step 3: On the left side of the head, draw a long pointed triangle.
Step 4: Make a line that splits the triangle long ways. Then make the other end of the beak into a point.
Step 5: Draw an outward curve under the beak.
Step 6: Connect the two ends of the half circles with half ovals feathers. Start with one layer on the left and build up to three layers as you go to the right.

