
In this quick tutorial you'll learn how to draw a Rattlesnake For Kids in 5 easy steps - great for kids and novice artists.
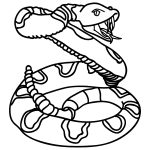
The images above represent how your finished drawing is going to look and the steps involved.
Below are the individual steps - you can click on each one for a High Resolution printable PDF version.
At the bottom you can read some interesting facts about the Rattlesnake For Kids.
Make sure you also check out any of the hundreds of drawing tutorials grouped by category.
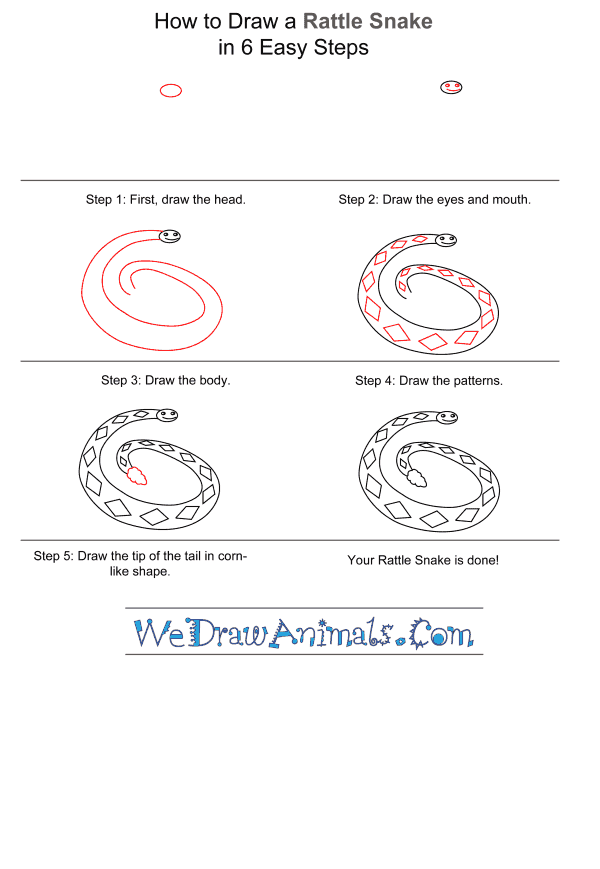
How to Draw a Rattlesnake For Kids - Step-by-Step Tutorial
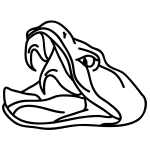

Step 1: First, we are going to draw a little oval. Rattlesnakes' bodies are much bigger than their heads, so don't make it too big.

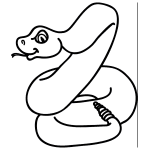
Step 2: Add eyes and a mouth inside of the oval. Snakes don't have noses like people, so don't worry about drawing a nose.

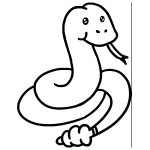
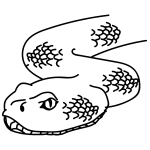
Step 3: Now draw the body, Make it a little thicker in the middle and thinner by the head and tail.

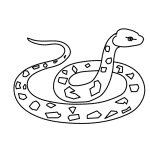
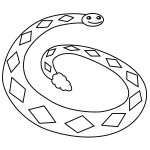
Step 4: Rattlesnakes have shapes and patterns on their scales to warn other animals not to get too close! Add some diamonds down its back.

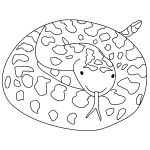
Step 5: Of course, a rattlesnake needs a rattle. Finish the snake with a honeycomb-shaped section on the end of its tail.

Step 6: Congratulations on drawing a rattlesnake! Give it some bright colors inside the pattern to make it stand out in the wild.
How to Draw a Rattlesnake for Kids – Step-by-Step Tutorial