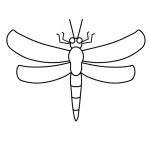
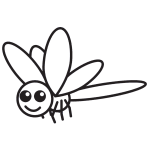
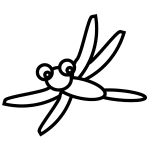
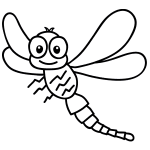
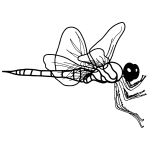
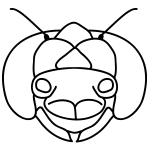
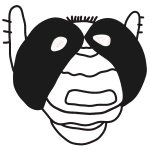
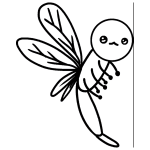
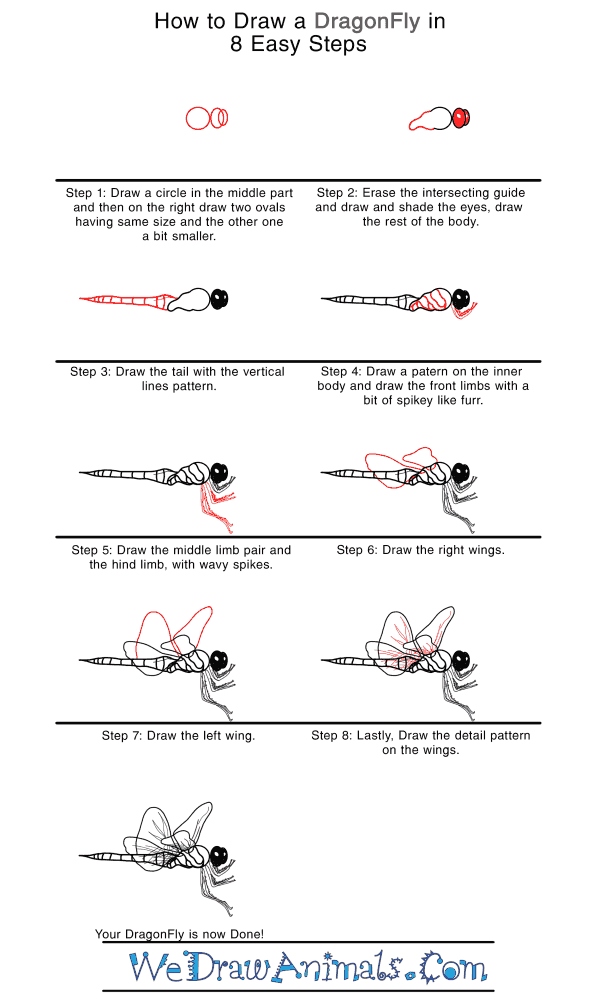
In this quick tutorial you'll learn how to draw a Realistic Dragonfly in 8 easy steps - great for kids and novice artists.
The images above represent how your finished drawing is going to look and the steps involved.
Below are the individual steps - you can click on each one for a High Resolution printable PDF version.
At the bottom you can read some interesting facts about the Realistic Dragonfly.
Make sure you also check out any of the hundreds of drawing tutorials grouped by category.
How to Draw a Realistic Dragonfly - Step-by-Step Tutorial
Step 1: Start by drawing a circle for the middle part and placing an oval against it on the right and one more thinner oval intersecting that one on the right.
Step 2: Then you'll erase the overlapping part of the oval on the far right and shade in the eye as well as drawing in the first part of the body with a rounded hook opposite the eye.
Step 3: Next draw the long, thin conical body with lines segmenting it the whole length.
Step 4: Then you'll draw in the curving, wavy pattern on the front part of the body just behind the head and add in the front leg with some small spiky fur.
Step 5: After that, you'll draw in the middle and hind legs with their spiky hairs.
Step 6: Next draw in the lower set of wings with a rounded point on one end.
Step 7: Then draw the upper set of wings, making them wider than the lower set.
Step 8: Finally, draw in the details of the wings.
Step 9: You have completed your Dragonfly! Congrats!

