

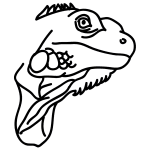
Step 1: Begin with the mouth, drawing one hooked line going down, with a second, smoother line going down, extending from the first hook.

Step 2: Add the nose by drawing a semi-circle attached to the top hook, and a circle above the mouth with a dark spot inside.

Step 3: Add some details for the nose bridge by drawing one straight line, connected to one upside-down "V", and one curved line next to it. That forms the brow ridge.

Step 4: From the "V" shape, continue the head back and down, including a few small zig-zags at the top.

Step 5: Complete the nect by connecting the lower line of the mouth to the end of the line for the head with a "U" shaped line.

Step 6: Add an almond shape below the right brow ridge for the eye, and a semi-circle below the mouth for the ear.

Step 7: Add a large circle within the eye for the iris, and an oval shape within the ear.

Step 8: Add a smaller circle within the iris, and shade in the oval within the ear.

Step 9: Now shade in the inner circle of the iris, making sure to leave a thin white gap around it.

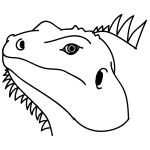
Step 10: To draw the body, add a curved line from the top of the head, and a stretched "S" shaped line from below the mouth.

Step 11: For the final details, add lots of small zig-zig lines to the lower body line, and several tail zig-zags to the upper body line, to show the spiky crests.

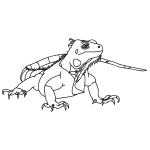
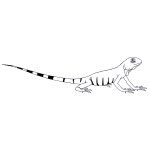
Step 12: Your iguana is complete!
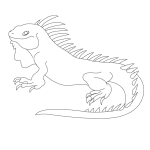
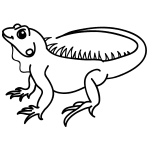
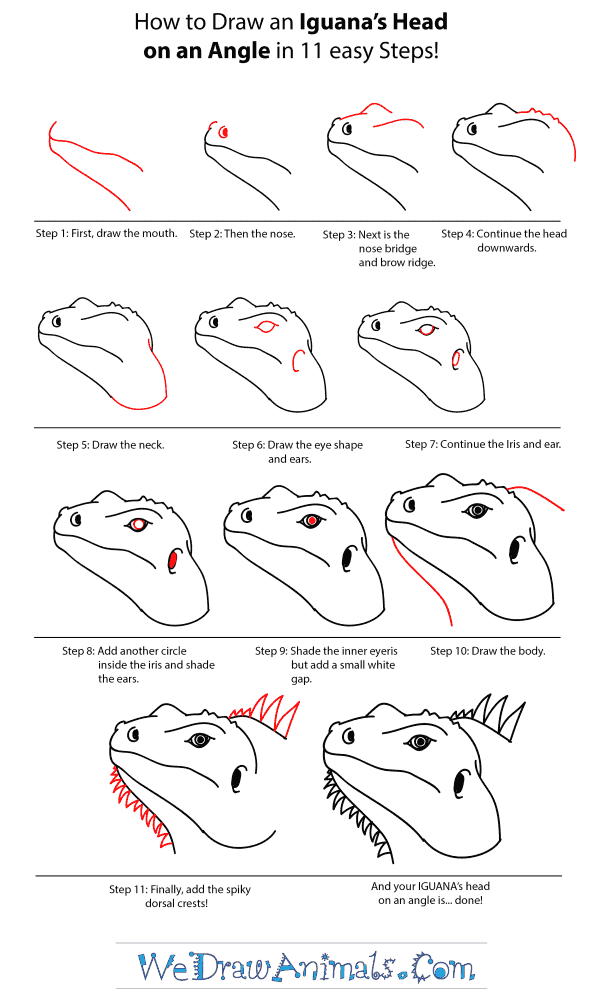
How to Draw an Iguana Head – Step-by-Step Tutorial