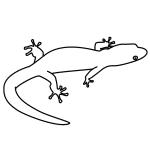
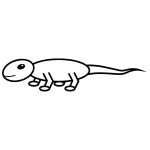
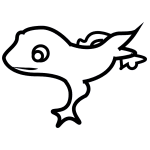
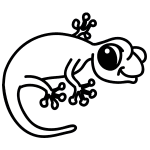
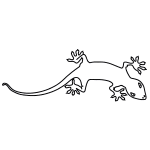
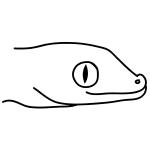
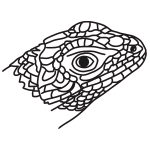
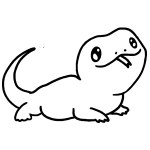
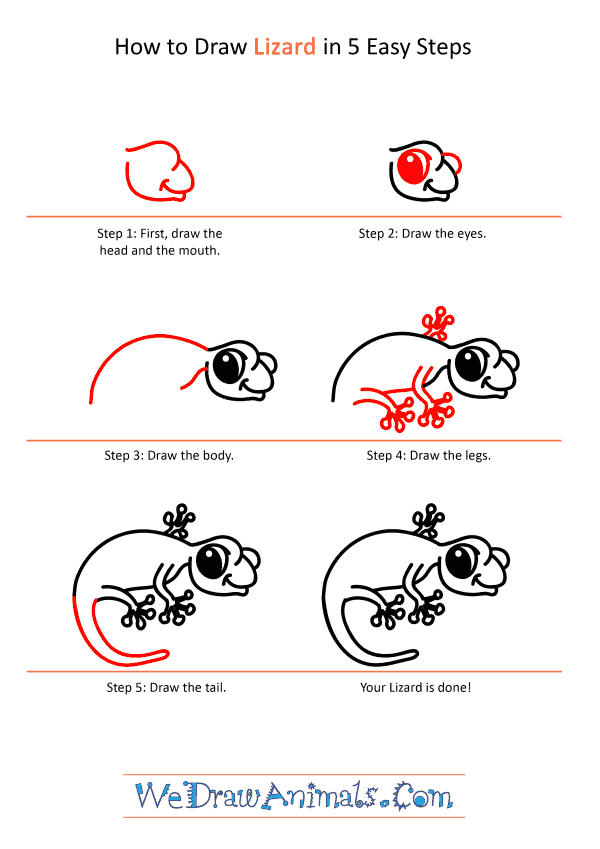
In this quick tutorial you'll learn how to draw a Cartoon Lizard in 5 easy steps - great for kids and novice artists.
The images above represent how your finished drawing is going to look and the steps involved.
Below are the individual steps - you can click on each one for a High Resolution printable PDF version.
At the bottom you can read some interesting facts about the Cartoon Lizard.
Make sure you also check out any of the hundreds of drawing tutorials grouped by category.
How to Draw a Cartoon Lizard - Step-by-Step Tutorial
Step 1: We will begin with the head of the lizard. First, draw the head by creating a circular-shaped figure, with another smaller dome shape off the right side. Add a curved line to this dome figure, creating the mouth and smile of the lizard.
Step 2: Now, in the middle of the circular shape, add a huge dot to represent the front eye. Add another dome off the top of the other dome you created. This will be the other eye.
Step 3: From the left side of the head, draw a curved line that moves into the downward direction. Below this, draw another curved line but keep this one very short.
Step 4: Now for the legs! Lets begin by creating one of the front legs. Off the top of the back, add a curvey geometric shape, waving the line up and down to create a webbed toe look. Move your pencil to the center of the lizard's body and create two parallel vertical lines close together. Repeat the same geometric shape from above to add on the toes. A bit further down off to the left, repeat the previous step for the back leg. Connect the front and back legs with a short horizontal line.

