

Step 1: Begin by drawing a curved line off to the right. At the base of the curved line, add a circle for the nose.

Step 2: Now, from the base of the nose off to the left, add a horizontal line. Underneath, add another horizontal line that connects up to the previous one. Add one more horizontal line below this one, directing it off to the left.

Step 3: Now, return back to the center of the head and add in two large dots for the eyes of the mole.

Step 4: Off to the left, add in two parallel curved vertical lines. At the base of these lines, add in multiple upside down cone shaped toes. Move over to the right of the mole and repeat the previous step.

Step 5: Now it is time to finish the body of your mole. From the top line of the mole, continue to curve this line in the horizontal direction and then cuve it downward to meet the left leg. Add a few cone shaped toes to this back leg as well. Add a single vertical line from the back toes to finish off the leg.
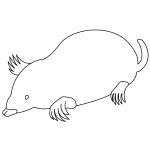
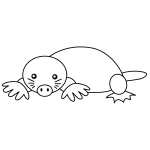
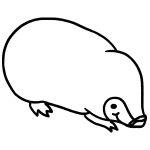
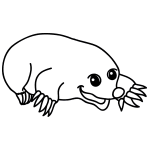
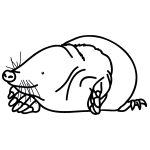
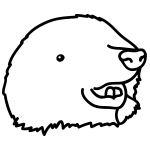
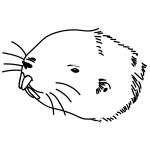
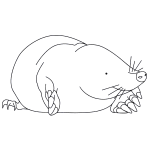
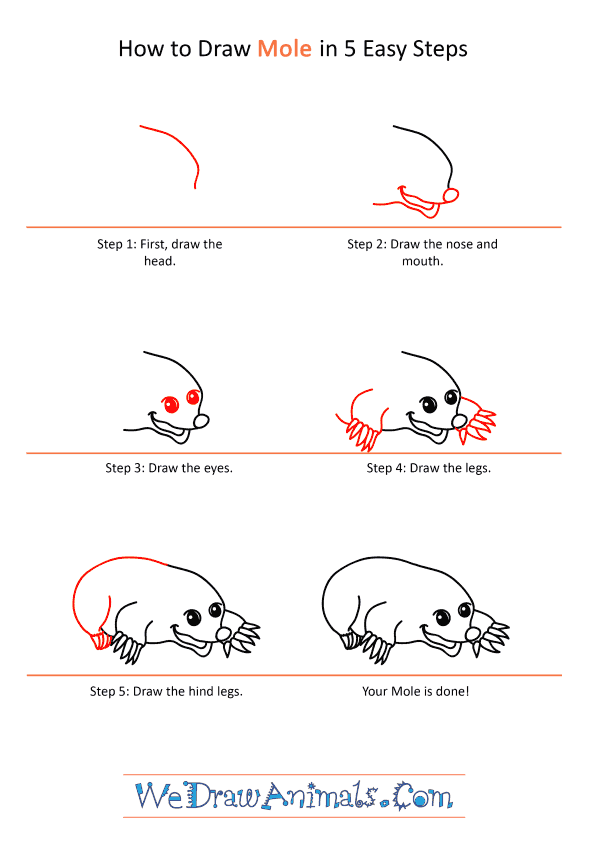
How to Draw a Cartoon Mole – Step-by-Step Tutorial